Bluetooth is a popular wireless technology standard designed for exchanging data over short distances. Bluetooth is so common that it is now part of smartphones and present in many embedded devices. Many wearable devices also use Bluetooth to pair with their accessories or co-devices. The Bluetooth interface uses UHF radio waves in the 2.4 GHz to 2.485 GHz ISM band. It was invented by telecommunications provider Ericsson in 1994 and developed by the Bluetooth Special Interest Group. A Bluetooth connection has a range of 10M to 100M.
Making embedded devices Bluetooth-enabled is a popular trend. The HC-05 Bluetooth module is a commonly used and widely available Bluetooth module that can be added to an embedded project to make it Bluetooth enabled. The module can function as both Master and Slave. The module connects to a microcontroller via serial communication. It is basically a 2.4GHz radio transceiver with 3Mbps modulation enhanced V2.0+ data rate. The module can operate in two modes –
1. Automatic connection working mode
2. Request response working mode
In automatic working mode, the module can work in any of the three functions – Master, Slave and Loopback. In this mode, the module follows the standard path to establish connection and exchange data. In request response mode, the user can set control parameters by sending AT commands. To enter AT mode, the 34th pin of the module needs to be connected to the power supply.
The modules have six commonly used pins, in addition to which there are programmable input/output pins and pins for communication via UART, SPI, USB and synchronous PCM. The 34th pin is a programmable input/output pin designated as the key pin.
To configure the module in AT mode, the key pin of the module needs to be connected to the microcontroller. It must initially be set to logic LOW and, once the module is turned on, it must be set to logic HIGH to enter AT mode. If the switch pin is initially logic HIGH, the baud rate for serial communication with the module will be set to 38,400 bits per second, even before the module is ready to enter the request response work mode. The desired baud rate for module initialization is 9600 bits per second and is set to the value when the switch pin is set HIGH after module power.
In this project, Arduino Pro Mini is used to pass AT commands to the Bluetooth module. The Arduino board connects to the Bluetooth module and virtual serial port of a desktop computer. AT commands are passed from a hyperterminal application to the Arduino Pro Mini. The Arduino board writes these commands to the Bluetooth module. Responses from the Bluetooth module are read serially and passed on to the hyperterminal application on the desktop.
The Arduino sketch simply creates and opens two serial communication ports for exchanging data between the Bluetooth module and the desktop computer. Arduino code is written in the Arduino IDE and written to the board using the AVR Dude.
Required components –
1. Arduino ProMini
2. HC-05 Bluetooth Module
3. Desktop or Laptop Computer
4. USB cable
Required software tools –
1. ArduinoIDE
2. Any Hyper Terminal Desktop application such as Arduino Serial Monitor
Circuit Connections –
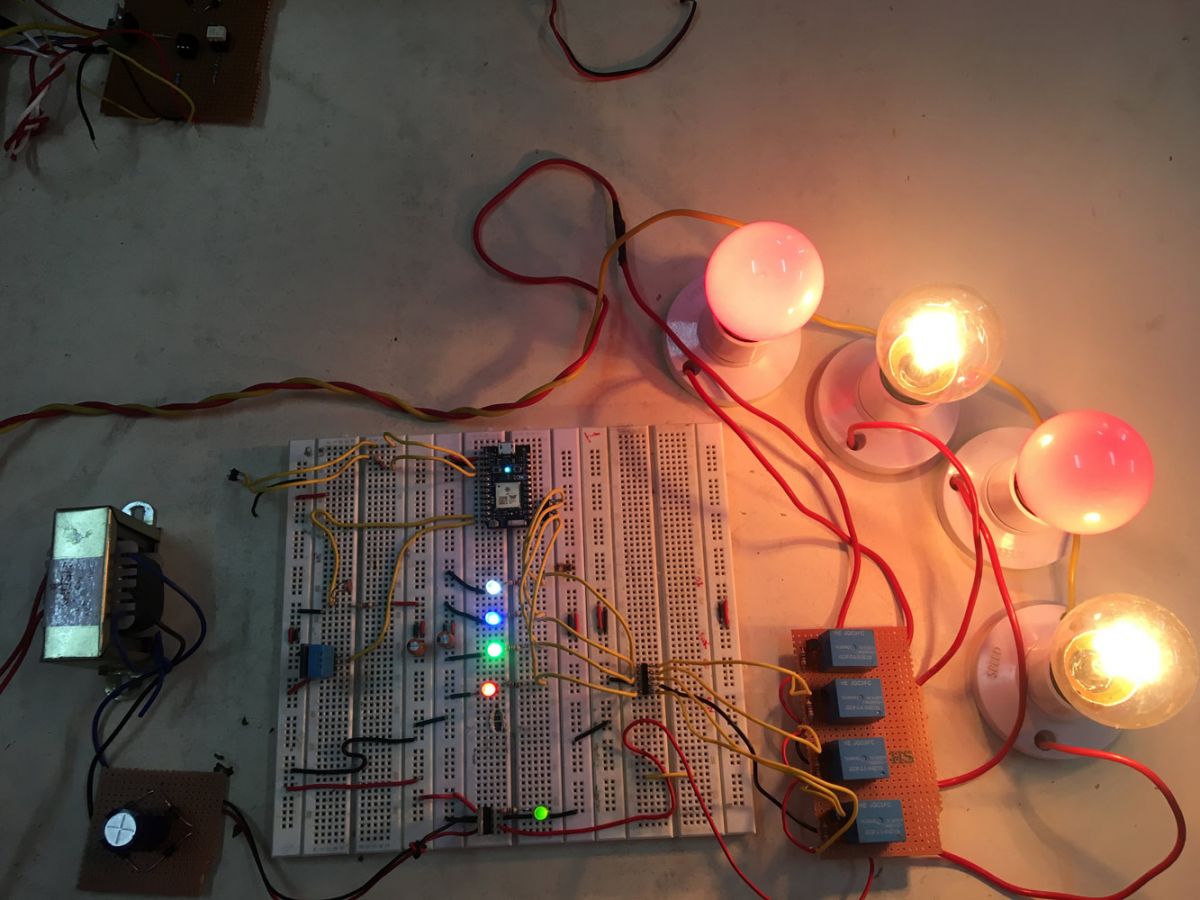
Figure 1: Arduino-based Bluetooth AT command test project prototype
The Arduino Pro Mini manages the exchange of data between the serial application on the desktop computer and the Bluetooth module. The circuit is assembled as follows –
Power supply – The circuit is powered by a battery that directly powers the Arduino board and the Bluetooth module.
HC-05 Bluetooth Module – The HC-05 Bluetooth module is a serial port protocol module. Operates on the 2.4 GHz ISM band with V2.0 + EDR (Enhanced Data Rate). It can work in Master and Slave modes. The Bluetooth module has six pins – Enable, VCC, Ground, Transmit Data (TxD), Receive Data (RxD) and State. The Enable and State pins are unused and therefore not connected to the circuit. The VCC and Ground pins are connected to common VCC and Ground. The TxD and RxD pins of the module are connected to pins 10 and 11 of the Arduino Pro Mini respectively. These connections are summarized in the table below –
Fig. 2: Table listing the circuit connections between the HC-05 Bluetooth module and the Arduino Pro Mini
In addition to these connections, the 34th pin of the module is connected to pin 9 of the Arduino Pro Mini.
Desktop Computer – The computer is connected to the Arduino board via a USB cable and transfers serial data to the board via virtual serial communication using a hyperterminal application.
How the project works –
The project device receives the AT commands entered by the user of the hyperterminal application. Commands are read serially by virtual serial communication and passed to the Bluetooth module. The Bluetooth module responds to AT commands and the responses are again read serially and transferred to the desktop application.
The HC-05 Bluetooth module supports the following AT commands –
|
|---|
Fig. 3: Table listing the AT commands of the HC-05 Bluetooth Module and their response
During testing of the Bluetooth module, the following commands were passed for which the response given in the table below was received.
Fig. 4: Circuit diagram of Arduino-based Bluetooth AT command test project
These responses were observed in the Hyper Terminal application. If responses are not received in the desktop application, the circuit connections must be checked and the transmission rate must be verified. During testing, it was observed that the baud rate initially needs to be set to 9,600 bits per second, but later needs to be set to 38,400 bits per second to execute AT commands.
Check out the Arduino code to learn how the Arduino board manages serial data between the desktop and the Bluetooth module.
Programming guide –
To enable virtual serial communication, SoftwareSerial.h needs to be imported. A Software serial type object is instantiated and mapped to pins 10 and 11 of the Arduino.
#include
SoftwareSerial mySerial(10, 11); //RX,TX
The setup function is called and the baud rate for communicating with the PC is set to 9600 bits per second. Pin 9 which is connected to the 34th pin of the Bluetooth Module is configured for digital output and set to logic HIGH using the pinMode and digitalWrite methods. Some initial messages are sent serially to the hyperterminal application and the software serial port baud rate is set to 38,400 bits per second for communication with the Bluetooth module.
empty configuration {
Serial.begin(9600);
pinMode(9,OUTPUT); digitalWrite(9,HIGH);
Serial.println(“Engineers Workshop:”);
Serial.println(“Enter AT commands:”);
mySerial.begin(38400);
}
The loop function is called in which the response from the Bluetooth module is checked and, if available, is written to the serial port. Likewise, if any desktop AT commands are available, they will be read and written to the Bluetooth module.
Note: Get the full code in the code section.
This completes the Arduino sketch for the Bluetooth module test project. Take a computer, assemble the circuit, start a hyperterminal application and get your hands dirty. It's time to test.
Project source code
###
//Program to #include###SoftwareSerial mySerial(10, 11); // RX, TX void setup { Serial.begin(9600); pinMode(9,OUTPUT); digitalWrite(9,HIGH); Serial.println("Engineers Garage:"); Serial.println("Enter AT commands:"); mySerial.begin(38400); } void loop { if (mySerial.available ) Serial.write(mySerial.read ); if (Serial.available ) mySerial.write(Serial.read ); }