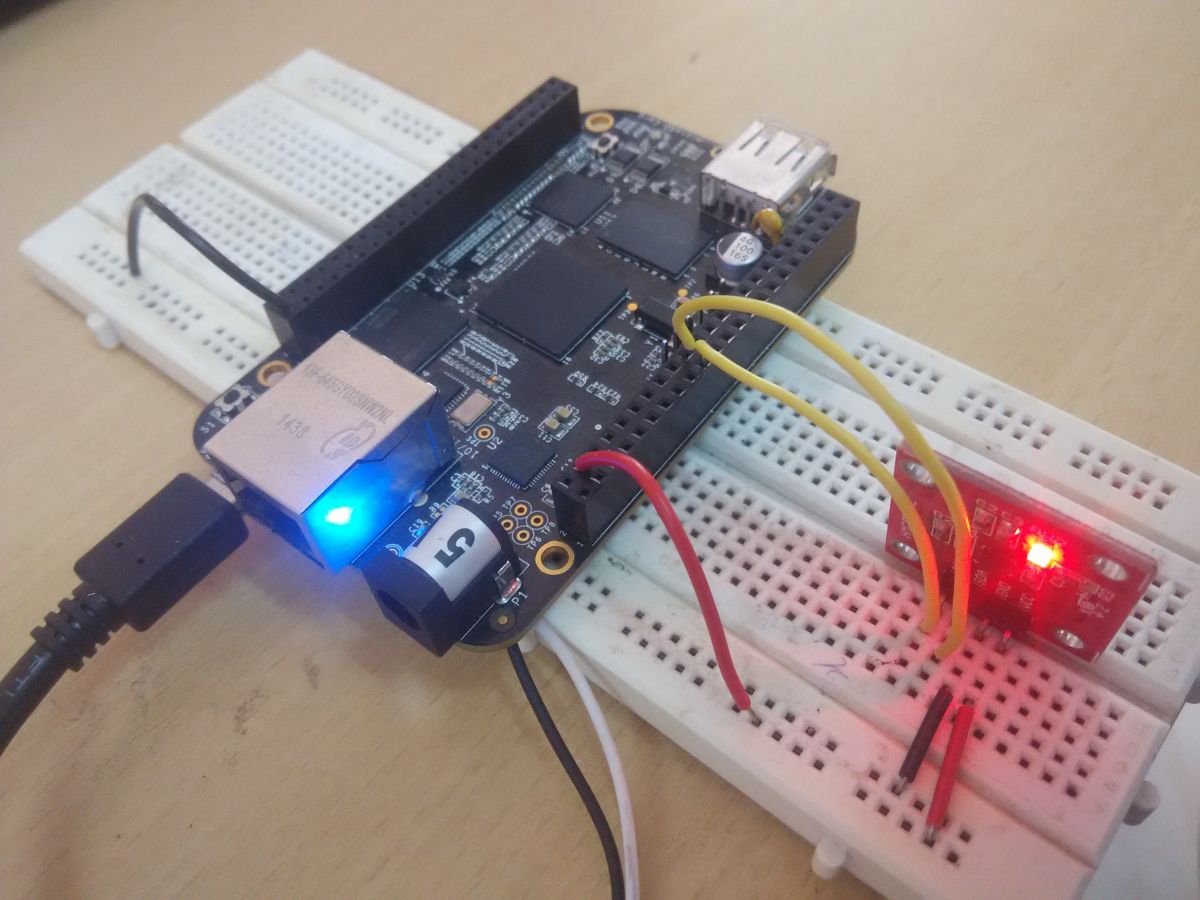
This tutorial represents the communication between Beaglebone black and Arduino through UART. You don't need any other peripherals for this tutorial. UART stands for universal asynchronous receiver and transmitter. It transmits and receives data asynchronously with another device that also supports the UART protocol.
Required tools :
- Black Beaglebone
- Arduino
- Female to female connectors
Software environment configuration
Install the latest version of python on BBB as explained in the tutorial How to make the first python program with Beaglebone Black. Install the adafruit python-GPIO library.
Working
Beaglebone transmits the message that is entered into the command prompt and the Arduino receives the data and displays it on the Arduino serial terminal. Run the python script from the SSH terminal and at the same time open the Arduino serial on the PC. Write some SSH terminal message. BBB transfers the data through the UART which is then received by the Arduino and displayed on the serial terminal.
Description
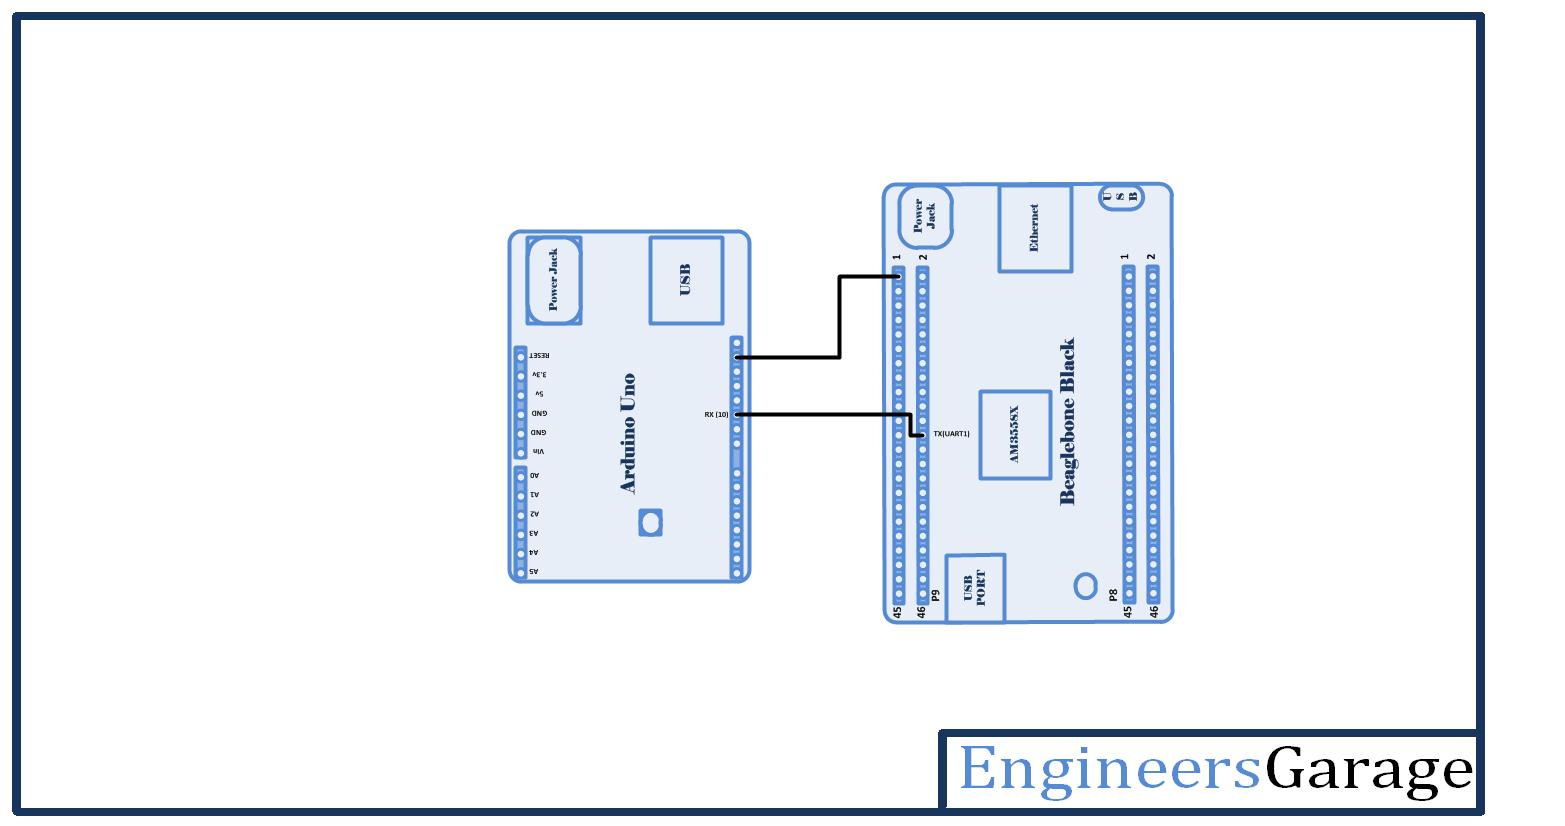
BBB has five UART ports on the chip, each containing two pins: RX pin and TX pin for receiving and transmitting, respectively. In this tutorial, UART1 is used to communicate with Arduino. Here, the BBB acts as the transmitter and the Arduino as the receiver. Connect the UART1 transmit pin (24th pin of P9 header) of the BBB to the receive pin ( 10th pin number) of the Arduino. I used UART software on Arduino, so I connected it to pin number 10th (I declared 10th and 11th pin as RX and TX in the program respectively). Make the common ground connection between the Arduino and the BBB, necessary for communication.
Open the command terminal and access Beaglebone black through SSH as explained in getting started with Beaglebone black. Create a new file using play command with .py extension (i.e. led.py). Open the file with any text editor (i.e. nano, vim etc.) and write code in python language.
Connect the Arduino to the PC via the USB cable. Open it and write code to receive data in C language. For help, you can refer to the tutorial how to install and run Arduino on Linux.
UART configuration on BBB
You need to import the UART into the program to use the I2C device. You can create your own library, but it would be more time consuming. Therefore, the Ad Fruit library can be used, which provides all types of BBB's python library.
import Adafruit_BBIO.UART as UART
Also import the serial from the python library. It encapsulates serial port access.
import series
Configure the UART by following the function:
UART.setup (“UART1”)
serial.Serial (port = “/dev/ttyO1”, baud rate=9600)
The first function is installation and configuration of UART1. The second function accesses the serial device with defined baud rate. Find the device port connected to UART in the list below and access it.

Now you can transmit and receive data through UART. You can close the door when you don't want to use it.
Arduino Setup
Write receiver source code on Arduino and upload it to Arduino Uno. After receiving the data, it will be displayed on the serial terminal.
Run the script in the terminal:
Enter the following command with the file name at the command prompt:
python.py file name
i.e. python uart.py
Project source code
Project source code
###
// UART.C#include
###
Circuit diagrams
| beaglebone-arduino-using-UART data |  |
Project video

