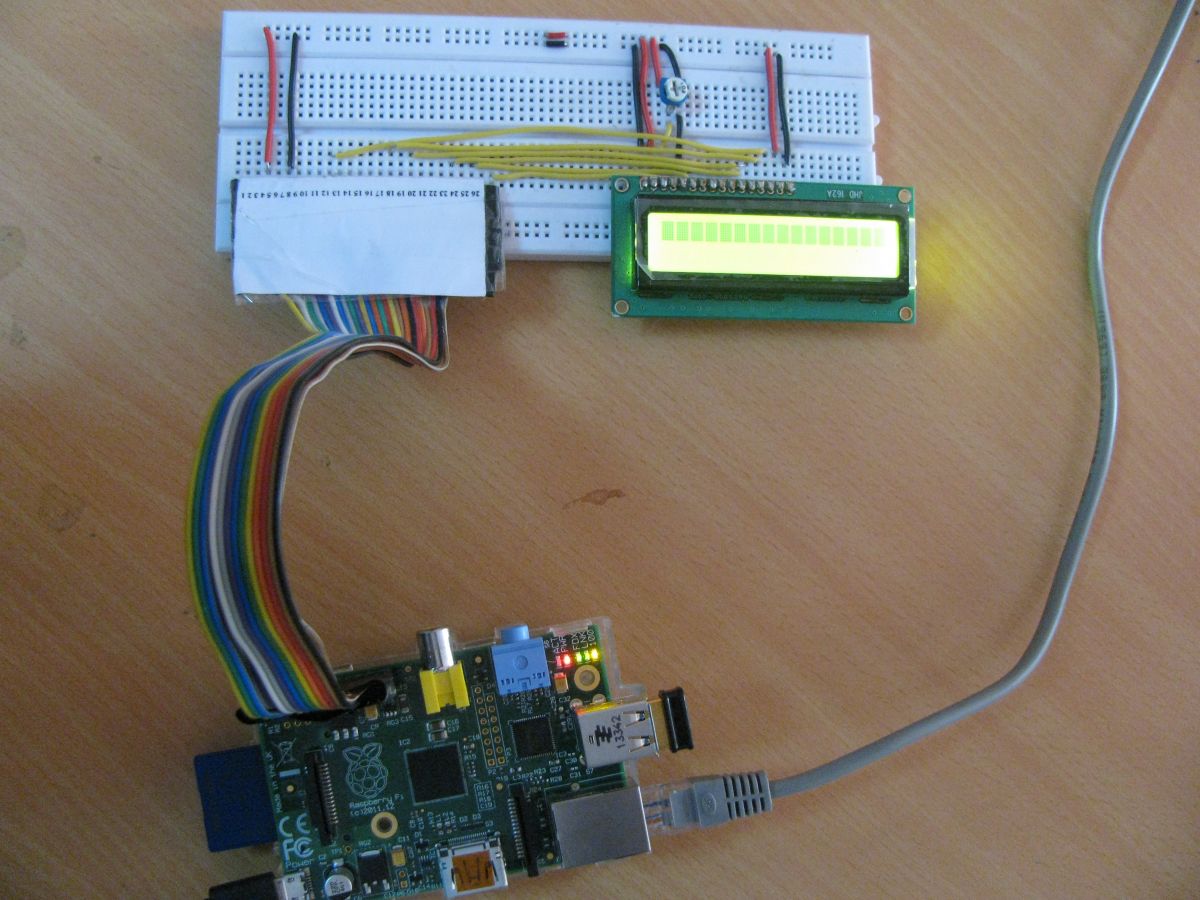
This tutorial meets the requirement of sending messages to the display from a web application. We learned how to create a web server using python using the Flask framework in the previous article. The LCD interface with the Raspberry Pi is well discussed on the AdaFruit website. Here is a simple but interesting example of how to create a new web application that will interact with the Raspberry Pi and display the characters provided by the web application on the LCD interfaced with it.

Web Application Based LCD Display Using Raspberry Pi
Prerequisites and equipment:
You will need the following:
-
A Raspberry Pi Model B or higher.
-
A USB WiFi adapter (Edimax – 802.11b/g/n wireless nano USB adapter is used here).
-
An SD card updated with the Raspbian operating system (here's a guide if you need it)
-
Access to Raspberry via keyboard and monitor or remotely.
Creating web server:
We will make a simple web application with a frame that allows the client to send a message to the Raspberry Pi using Flask in a web browser. This will allow us to control the Raspberry Pi from a PC, tablet or smartphone. At the time of submitting the form, it will send the message to the LCD through the Raspberry Pi's GPIO ports. All code, including the web application, is in Python and HTML.
Creating webpage:
Here we will be using the AdaFruit_CharLCD.py library modified according to our connections in the circuit, so make sure you have everything working as per the AdaFruit tutorial, except the connections. Therefore, we have to configure the folder structure we need.
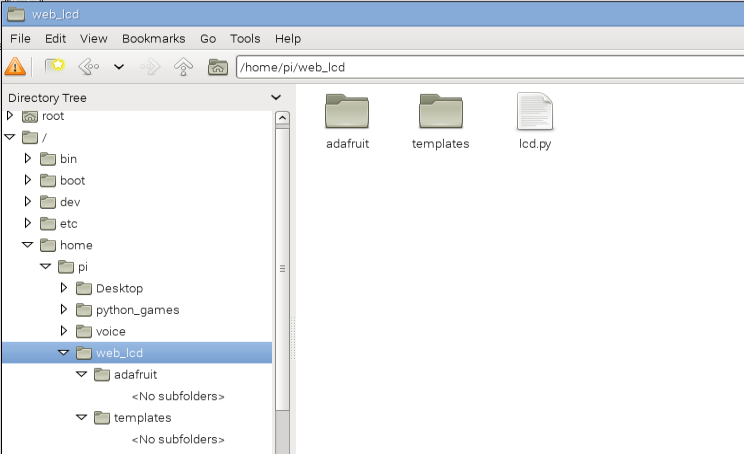
Create a web_lcd folder in your home directory:

Fig. 2: Creating Web_lcd folder in home directory similar to AdaFruit
And create two folders and a python script file called lcd.py in the web_lcd directory.
Download the project files here and transfer them to the Raspberry Pi using the file server discussed in the previous tutorial.
Change the IP address for your Raspberry Pi. (Raspberry Pi IP address can be known by ifconfig command.

Fig. 3: Change the Raspberry Pi IP address
To change the pin numbers, navigate to Adafruit_CharLCD.py and edit the numbers.
Note: In GPIO.setmode (GPIO.BOARD), BOARD means numbers specified by the board.

Fig. 4: Changing PIN number on Raspberry PI using Adafruit_CharLCD.py
Enter the command below after SSH browsing to the Web_lcd folder.
sudo python lcd.py

Fig. 5: Restarting the server for LCD display
This will start your web server and the characters you type and send will be displayed on the LCD.

Fig. 6: LCD display web control panel on Raspberrypi
Project source code
###
//Program to###
Project source code
###
//Program to###
Circuit diagrams
| Circuit Diagram-Web Controlled LCD Display |  |
Project video

