REQUIREMENTS:
1. Microcontroller (AtMega 16)DESCRIPTION:
Brushless motors have much more satisfactory results compared to brushed motors. The basic difference between them is that in a brushless motor, the rotor itself contains the permanent magnets and the electromagnets move to the stator, which is exactly the opposite of that seen in brushed motors. It is more accurate and can also factor engine speed into the equation. This makes brushless motors more efficient as there are no sparks, less electrical noise and no wear on the brushes. With the electromagnets in the stator, they are very easy to cool. You can have many electromagnets in the stator for more precise control. The only disadvantage of a brushless motor is its higher initial cost, but it is often possible to recoup this cost through increased efficiency over the life of the motor. Now when we talk about controlling these motors, I would like to introduce a new term i.e. ESC which stands for Electronic Speed Controllers. As the name suggests, they control the speed of brushless DC motors using some electronic protocol. These ESCs need a command to continue working. In this project I am sending these commands using a microcontroller, AtMega 16. You must be thinking what would these commands be? Don't worry, if you have dealt with servo motors before, you will be able to control these BLDC motors very easily. Most ESCs need a frequency of 50 Hz, i.e. a cycle time of 20 ms and the speed depends on the duty cycle provided. 1ms will reduce its speed to a minimum or even stop it (depends on the ESC model) while a 2ms pulse will make the motor run at its maximum speed. The values in between provide a variation in speed.
|
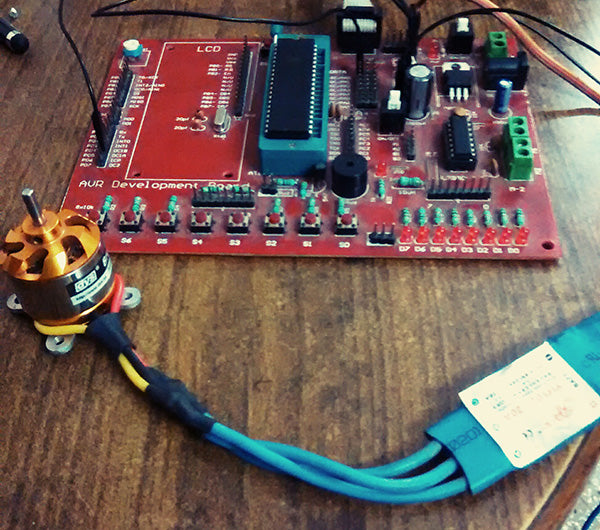
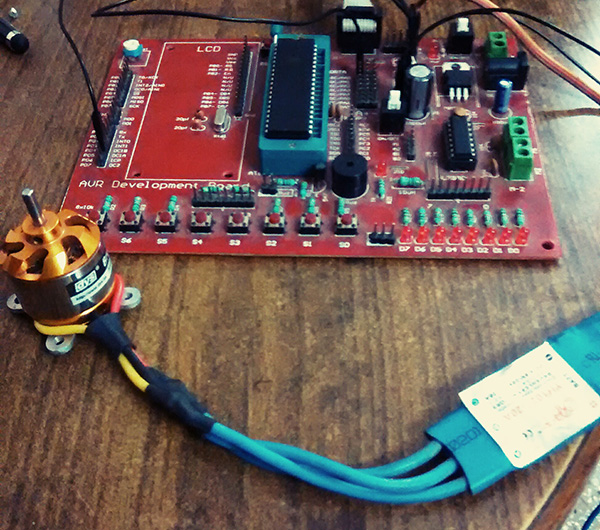
Fig. 1: Brushless DC motor controller prototype based on AVR ATMega16
|
|
Figure 2:
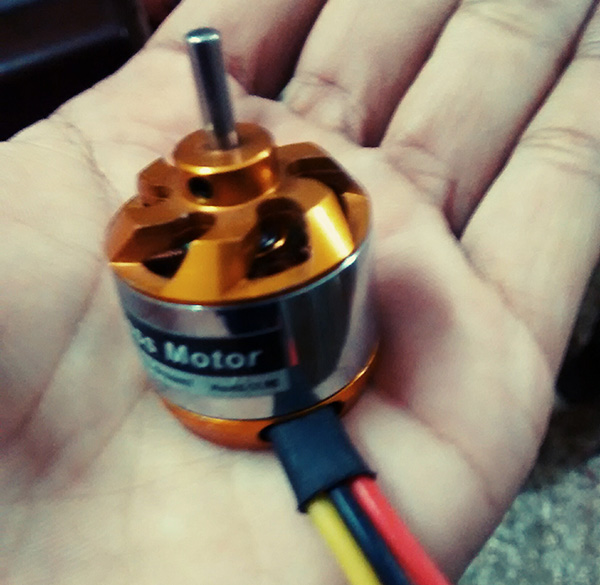
Picture of brushless DC motor
|
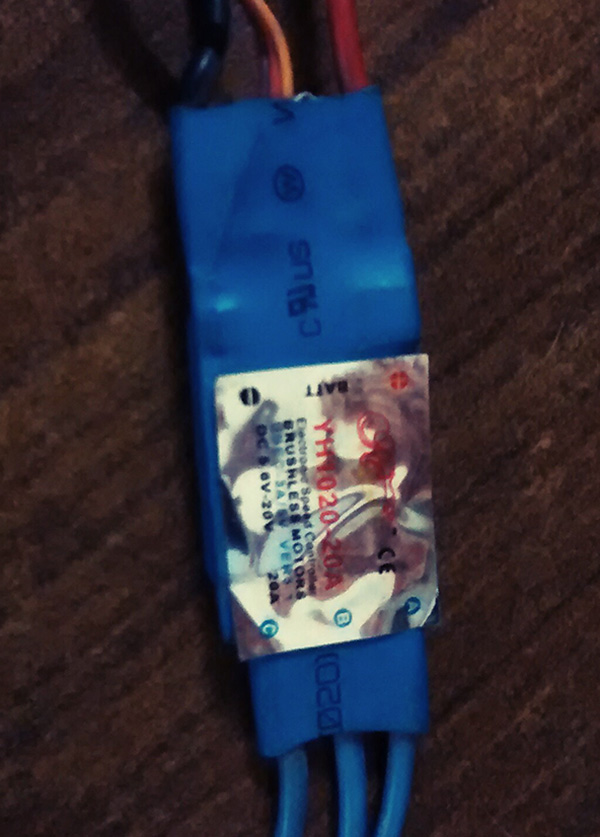
Figure 3: Image of the Electronic Speed Controller
Let me tell you something about the connections involved here. An ESC needs a power source to function (this source will also supply power to the motor). I used a lithium polymer battery (11.1V) here. On the input side, in addition to the need for the battery, a signal is needed that I connected to the OC1A pin (PD5). This is the output of Timer1_A; I will talk about this later. Next comes the output section with 3 pins A, B and C. These pins correspond to the 3 pins of the BLDC motor. The motor in use comes with three wires in the colors: yellow, black and red. You need to connect A to yellow, B to black and C to red. If you find your motor turning in the opposite direction to what you want, simply swap the yellow and red wires. Timer1 on the AtMega 16 is a 16-bit timer, meaning it can count up to 65,535 starting from zero. The reason I used this timer and not timer0 or timer2 is that these are 8-bit timers and can count up to 255. When we want a 20 ms cycle, we need a value of 20,000 counts (0-19999). As you can see, this value cannot be accommodated in any 8-bit timer, so I switched to a 16-bit one. A big advantage of 16-bit timers is that you can set the upper value between 0-65535. Timer 1 is divided into two individual 16-bit timers A and B. This project uses the 'A' part of timer 1. Furthermore, the values corresponding to 1ms and 2ms are 1000 and 2000 respectively. When watching the video you will notice that I controlled the speed using a potentiometer (10K pot). This potentiometer provides the analog value that is read by the PORTA_0 pin. This value then determines the value between 1,000 and 2,000, as discussed above. About practically dealing with the engine I used; it was written in its datasheet that it requires a 1 ms pulse for a few seconds or until the motor responds with a signal (you will understand better when you watch the video part). This indicates that the engine is now ready for the commands discussed previously.
FORMS:
• These engines play the most important role in manufacturing any aerial vehicle like UAVs or quadcopters etc. • BLDC can also be seen in RC (remote control) cars and aircraft.Project source code
#include
#include
void main
{
int value;
ADCinit;
TCNT1=0;
TCCR1A =(1<
TCCR1B =(1<
DDRD =(1<<5);
ICR1=19999;
OCR1A=1000;
while (1)
{
value=read_adc(0);
OCR1A=value+1000;
}
}
Circuit diagrams
| Circuit Diagram-AVR-ATMega16-Brushless DC Motor Controller | 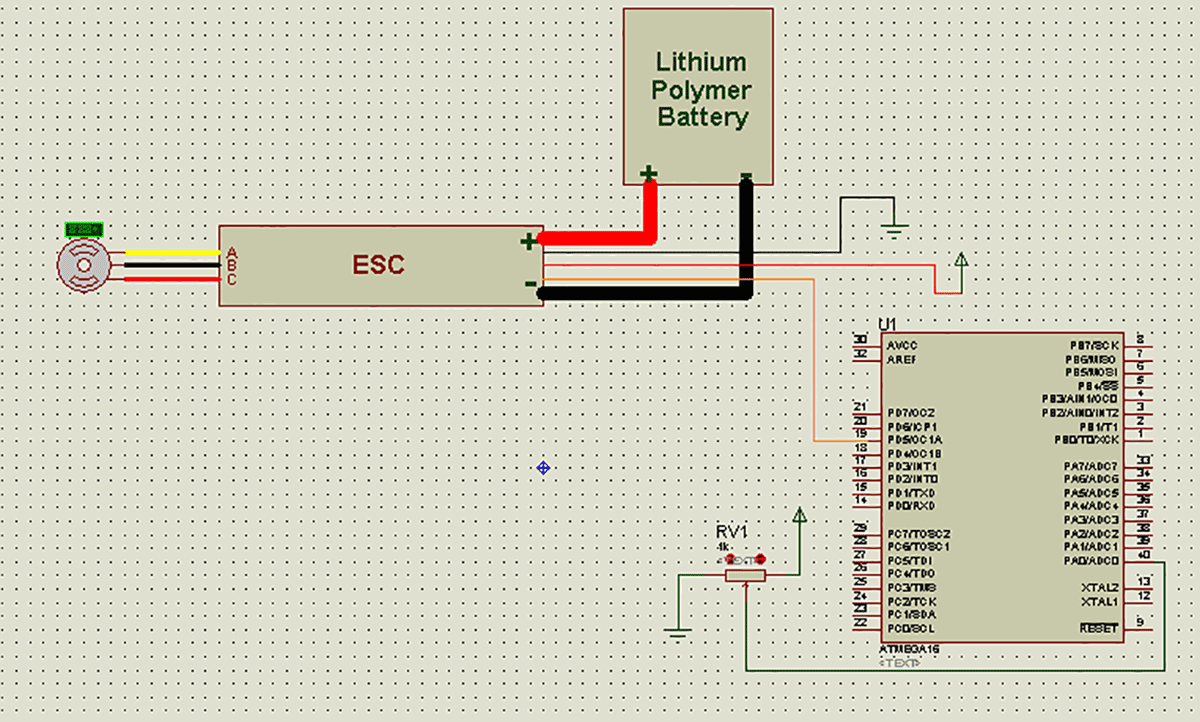 |

