Is it possible to update the weather on an embedded or wearable device without interfacing with any temperature or humidity sensors? With access to the Internet of Things (IoT), devices can connect to a variety of web services with the help of APIs and extract various insights and useful information through simple HTTP requests. In response, devices receive an HTTP header or JSON (JavaScript Object Notation) data that can be interpreted in firmware code to extract useful information.
In this project, we will design a sensorless weather station on ESP8266/ESP32 without interfacing with a single sensor. We will be able to extract several useful weather updates, such as temperature, pressure, humidity and wind speed updates – for any location on the planet.
We'll do all this by accessing the free OpenWeatherMap web service, a subscription-based service that provides weather updates, historical weather data, weather forecasts for road risk analysis, and agricultural analytics. With a free subscription, you can get weather updates for any city in the world. After registering with the API, we implement an HTTP request through MicroPython code on the ESP8266/ESP32 to get weather updates for a specific city or location. The MicroPython code was created to extract specific insights from the JSON data received as a response from the OpenWeather platform. So let's start.
Required components
- ESP8266/ESP32 x1
- Micro USB cable x1
Circuit Connections
Previously, you may have built a MicroPython-based weather station by connecting a temperature and/or humidity sensor like the DHT-11-based MicroPython weather station. To build this weather station, you literally don't need to connect any sensors to the ESP board. You just need to have MicroPython loaded on the ESP board and have an IDE like uPyCraft or Thonny ready to start coding MicroPython. The rest will be done inside the MicroPython script. The ESP board must have access to the internet via a WiFi network.
Free registration with OpenWeatherMap
Firstly, you need to sign up for the OpenWeatherMap API. Visit the following link to sign up – The page offers different options and plans to use the OpenWeatherMap service. Click on the first registration option.
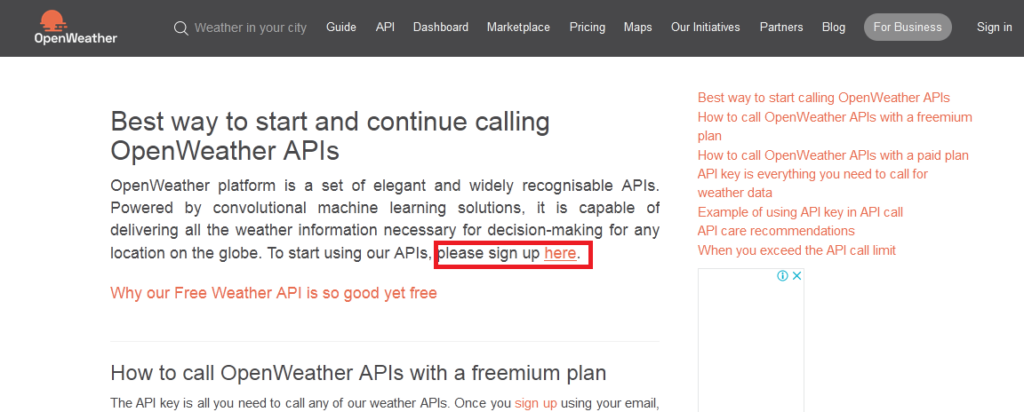
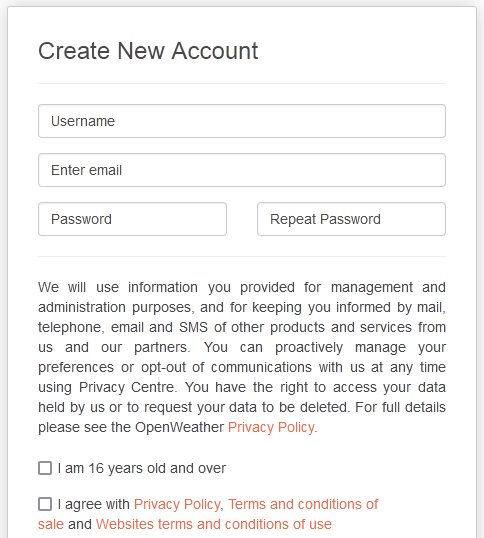
You will then be redirected to a “Create new account” form. Fill in your details, select the appropriate checkboxes and click the “Create account” button.
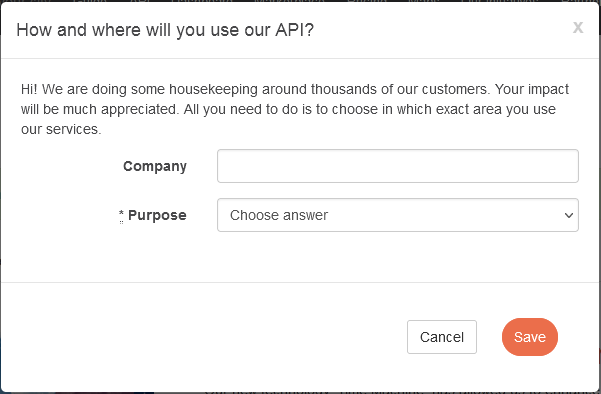
Finally, you will see a pop-up asking for your business name and purpose. You can put your own name or the name of your organization and choose education/science as your goal.
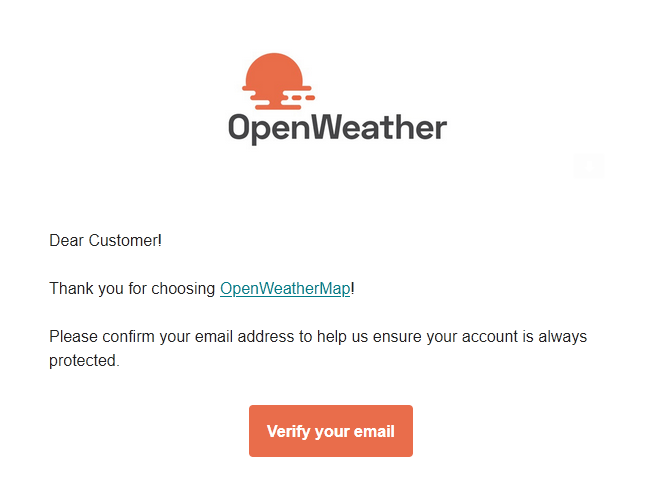
A confirmation email will be received to the registered email account. Open your email account and check your email.
When you finish verifying your email account, you will be redirected to the OpenWeatherMap console.
Get the API key
In the OpenWeatherMap console, navigate to the “API Keys” tab. Here, you will already see a generated API key with free registration. You can even create more API keys to use on different devices or gain access to subscription-based services.

Since we only need daily weather updates for a specific location, the API key for free registration is sufficient. The API key is mandatory for access and authentication with the OpenWeatherMap API.
API call to OpenWeatherMap API
To make an API call to get weather updates for a specific location, you need to invoke an HTTP request via HTTP URL. The API call has the following format.
key}
To get weather updates for your location, you just need the latitude and longitude and the API key. You can find the current weather update along with the geographical coordinates of your city by searching the following link –
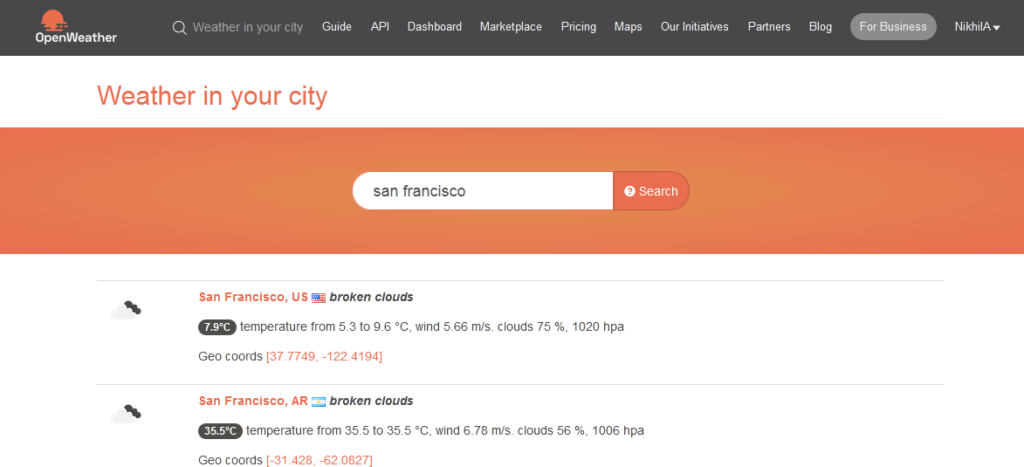
Note that the Southern Hemisphere is represented by negative latitudes and the Western Hemisphere is represented by negative longitudes. For example, the latitude and longitude of San Francisco, USA is 37.7749N, 122.4194W. In the API call, the latitude will be 37.7749, but the longitude will be -122.4194. You can check the accuracy of the API call by replacing the latitude, longitude, and API key with the latitude and longitude of your location and your API key, respectively, and visiting the link in a web browser. A response will return containing JSON data representing the weather information for a given location, as shown in the image below.

Reading JSON data with MicroPython
As you can see that when making an API call for a specific location, the weather data is returned in JSON format. JSON is the universal format accepted by web APIs. In JSON, data is represented as name/value pairs. The name and value are separated by a colon (:). Name/value pairs are separated by commas. Arrays are enclosed in square brackets ( ), while objects are enclosed in braces ({}). MicroPython provides a built-in JSON module for extracting names and values from JSON data.
MicroPython urequests module
The API call to OpenWeatherMap is nothing more than an HTTP request via an HTTP URL. MicroPython provides urequests module to make HTTP requests online. The module may not be integrated with the MicroPython firmware loaded on the ESP board; in this case, you will need to load the module onto the board separately. In uPyCraft IDE, navigate to File->New. In the code editor, paste the following source code from urequests.py.
Save the script as urequests.py and upload it to the ESP board by clicking the “Download and Run” button. Now the urequests module has been successfully loaded onto the ESP board.
MicroPython Script
Delete the current code from Boot.py and copy the following script to Boot.py.
Upload the updated Boot.py to the ESP board by clicking the “DownloadAndRun” button. Remember to replace SSID and NETWORK_KEY with the SSID and network key of your own WiFi network. Also, replace {latitude}, {longitude} and {APIKey} with the latitude and longitude of your location and your own received API key upon registration.
The code
The code starts with importing the required MicroPython modules. The urequests module is imported to make HTTP requests and the UJSON module is imported to interpret JSON data. The network library is imported to connect to the WiFi network.
Then, connecting to a WiFi network is configured using the provided SSID and network key. The ESP board is configured in station mode and the connection to the WiFi network is initiated by calling the station.connect method. Connectivity to the WiFi network is checked by calling station.isconnected . Once the ESP card is successfully connected to a WiFi network, the network parameters are printed to the IDE console by calling the station.ifconfig method.
The HTTP URL for the API call to the OpenWeatherMap API is stored in a variable “open_weather_map_url”. The HTTP GET request is initiated by calling the requests.get method. The JSON response from the API call is printed to the console. Finally, using the json .get method, specific values accessed by their names are extracted into different variables and printed to the IDE console.
Result
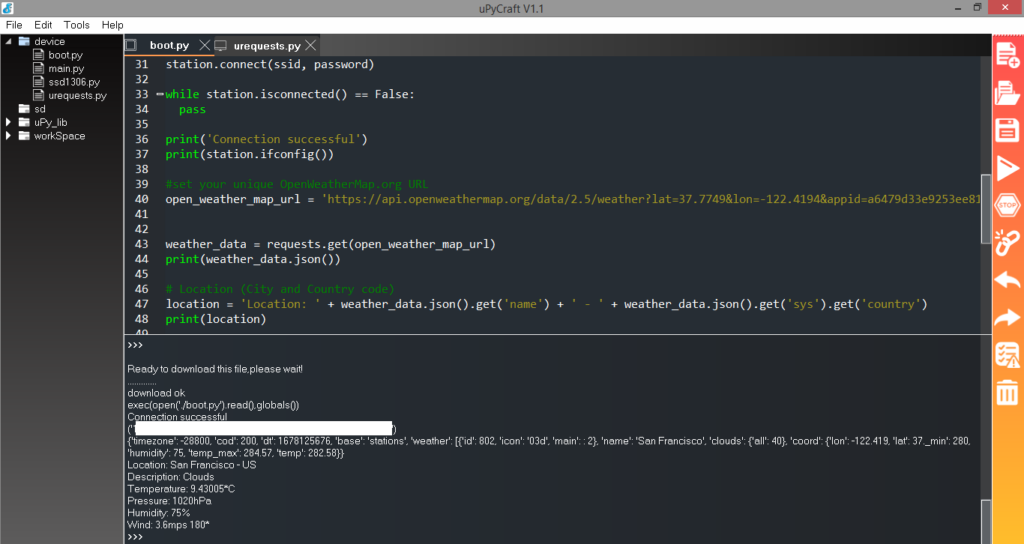
After loading and running Boot.py on the ESP board, the weather update for your chosen location, including temperature, pressure, humidity, and wind speed, will be printed to the console as shown in the image below.
\

