Improve your app's performance with React server-side rendering.

Server-side rendering in React is a powerful tool for creating dynamic web applications. It allows developers to create high-performance, interactive user interfaces without relying on client-side JavaScript execution. By utilizing server-side rendered components in our application codebase, we can leverage modern technologies like Node.js Released in May 2009 which provides a streamlined way to deliver back-end content directly into our front-end codebase. end.
This approach speeds up load times and gives us unprecedented control over what is displayed on each page request, while also giving us features like state management that come naturally when using a library like React.
This article will explore the benefits of using server-side rendering in React, how it works behind the scenes, and how best to implement it in existing projects. We'll also look at some of the challenges associated with server-side rendering, such as performance optimization and maintenance considerations. Finally, we'll provide helpful tips and tricks to get started with server-side rendering in React today!
What is server-side rendering?
Server Side Rendering (SSR) is used to render web pages on the server before sending them to the client. This enables faster page loads, better performance, and an SEO-optimized rendering solution for React apps. Additionally, SSR can provide a better experience for users with slower internet connections or devices with limited memory and processing power by performing the initial rendering of components on the server.
SSR in React can improve page load time by eliminating unnecessary round trips between client and server. Server-side rendering in React gives you more control over how content appears on search engine results pages (SERPs). Because search engine crawlers rely heavily on JavaScript to index websites, websites built entirely with client-side rendering may not appear correctly in SERPs due to the inability to parse JavaScript code.
Server-side rendering, compared to client-side rendering, helps ensure consistency across different browsers; Since much of modern web development relies heavily on browser-specific features such as APIs or custom event handlers - these types of features may not always behave correctly when rendered through client-side techniques alone, but will work normally if pre-rendered via server-side methods beforehand.
The main advantages and disadvantages of server-side rendering with React are as follows:
| Benefits | Disadvantages |
| SSR provides faster initial page loads because all necessary data is already rendered on the server before being sent to the client browser. | SSR requires additional infrastructure, time, and effort during development to adequately support it. This is not necessary when building a standard website as all content can be rendered client-side via HTML or JavaScript code. |
| When using traditional SPAs for web applications, there can often be SEO-related issues because Google is unable to crawl all of your dynamic content during indexing. This is caused by only providing JavaScript files that cannot be easily indexed by bots, such as those used by Google or Bing, etc. | SSR increases the complexity of an application by introducing separate layers of code required for server-side rendering and in-browser scripting. |
| By having the majority of your application already rendered in advance, you effectively eliminate any potential delays while waiting for components or sections in an application/website. | React offers great performance benefits compared to others when using SSR correctly, but it still can't match native mobile apps in terms of speed and responsiveness, largely because these apps run entirely locally, so they can't need no type of network connection all the time. like web pages do. |
Implementing server-side rendering in React
Let's now dive a little deeper into how server-side rendering works in Next.js and Express.js, exploring a use case where it can be particularly useful.
Use case: An e-commerce website
Let's consider a use case where server-side rendering can be particularly useful.
An ecommerce website typically has many pages. Each page displays a product or product category. Furthermore, these pages tend to be dynamic and updated frequently, so it is important to ensure that they are easily discovered by search engines and accessible to all users.
To achieve this, you can build your eCommerce website with server-side rendering in Next.js or Express.js. This approach would allow generating HTML markup for each page on the server. Thus, making it easier for search engines to crawl and index content.
Implementing server-side rendering using Next.js
Let's now see how we can implement server-side rendering in Next.js for an eCommerce website.
Step 1: Create a new Next.js project
To get started, you will have to create a new Next.js project by running the following commands in your terminal:
npx create-next-app my-ecommerce-app
 cd my-ecommerce-app
Step 2: Add required dependencies
Next, you will need to add the following dependencies to your project:
npm install react react-dom next
This is what package.json looks like now.
 {
 "name": "my-ecommerce-app",
 "version": "0.1.0",
 "private": true,
 "scripts": {
 "dev": "next dev",
 "build": "next build",
 "start": "next start",
 "lint": "next lint"
 },
 "dependencies": {
 "@next/font": "13.1.6",
 "eslint": "8.34.0",
 "eslint-config-next": "13.1.6",
 "next": "13.1.6",
 "react": "18.2.0",
 "react-dom": "18.2.0"
 }
 }
Please note the versions of the packages mentioned above as they were used when this guide was created.
Step 3: Configure the environment configuration
We will now define an environment variable to be stored in a .env.local file, which stores configuration settings that can be used in different environments (e.g. development, testing, production).
To set an environment variable in your project. You will have to create a file called .env.local in the root of your project directory and add a line like the following:
API_URL=
It is important to note that you should not check this file into source control as it may contain sensitive information such as database credentials or API keys.
Instead, you can create a template file called .env.example that contains placeholder values for your environment variables and check that file into source control. Other developers can then copy this file and fill in the environment variable values.
Step 4: Create a new page
Next.js uses a file-based routing system, which means that a file in the pages directory represents each page in your application. To create a new page, simply create a new file in the page directory with the desired URL path. For example, to create a page displaying a list of products, you might create a file called pages/products/index.js.
In this file, you can define a React component that will be rendered when the user visits the /products URL path. Here is an example of a component that fetches a list of products from an API and displays them in a list:
 function ProductsPage {
 const (products, setProducts) = useState( )

 useEffect( => {
  async function fetchProducts {
   const res = await fetch('/api/products')
   const products = await res.json
   setProducts(products)
  }
  fetchProducts
 }, )

 return (
  <div>
   <h1>Products</h1>
   <ul>
{products.map((product) => (
 <li key={product.id}>{product.name}</li>
 ))}
 </ul>
 </div>
 )
 }

 export default ProductsPage
Step 5: Create an API endpoint
To fetch the list of products, we use an API endpoint at /api/products. Next.js provides an integrated API routing system that makes it easy to create serverless API endpoints.
To create an API endpoint, create a new file in the pages/api directory. For example, to create an API endpoint that returns a list of products, you can create a file called pages/api/products.js.
In this file you can define a function that will be executed when the user requests the API endpoint. For the purposes of this guide, we'll use an example function that fetches a list of products from a mock API:
 const products = ( { id: 1, name: 'Product 1' }, { id: 2, name: 'Product 2' }, { id: 3, name: 'Product 3' },)

 export default function handler(req, res) {
res.status(200).json(products)
 }
Step 6: Update the page to use server-side rendering
By default, Next.js uses client-side rendering (CSR) to render pages, which means that JavaScript code runs in the user's browser. To switch to server-side rendering (SSR), you will need to update the page component to use a getServerSideProps function.
The getServerSideProps function is a special function that runs on the server before the page is rendered. It can be used to fetch data from an API or database and return it as fixtures to the page component.
Here is an updated version of the pages/products/index.js file that uses getServerSideProps to fetch the list of products from the server:
 import { useState } from 'react'

 function ProductsPage({ products }) {
 const (loading, setLoading) = useState(false)

 return (
  <div>
   <h1>Products</h1>
   <ul>
{products.map((product) => (
 <li key={product.id}>{product.name}</li>
 ))}
 </ul>
 </div>
 )
 }

 export async function getServerSideProps {
 const res = await fetch(`${process.env.API_URL}/api/products`)
 const products = await res.json
 return { props: { products } }
 }

 export default ProductsPage
Note that we moved the useState hook for the loading state out of the getServerSideProps function, as it also needs to be initialized on the client.
Step 7: Start the development server
You can now start the development server by running the following command in your terminal:
npm run dev
This will start a local development server on .
Step 8: Test the app
You can now test the application by visiting the /products URL path in your browser. You should see a list of products displayed on the page.
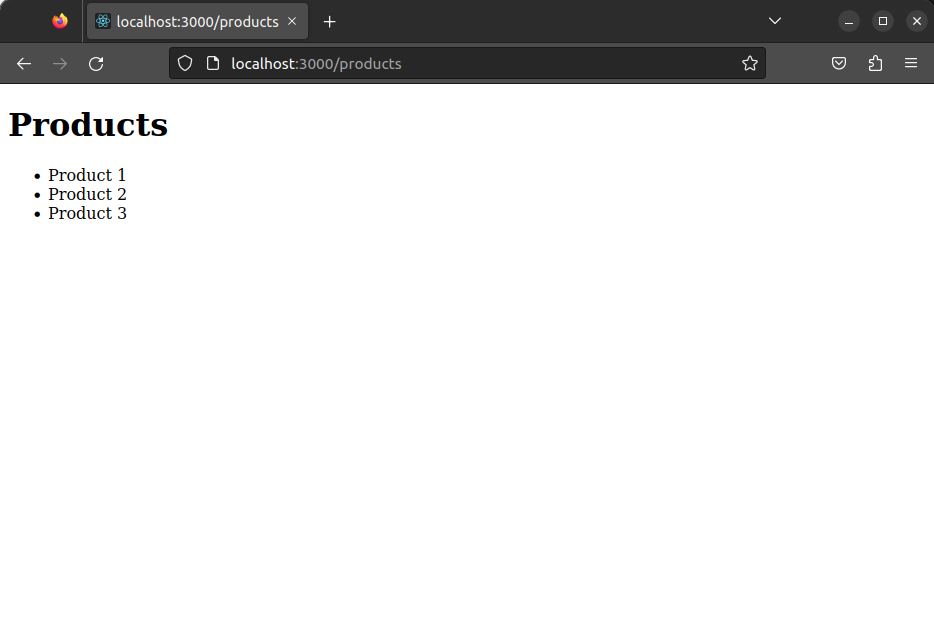
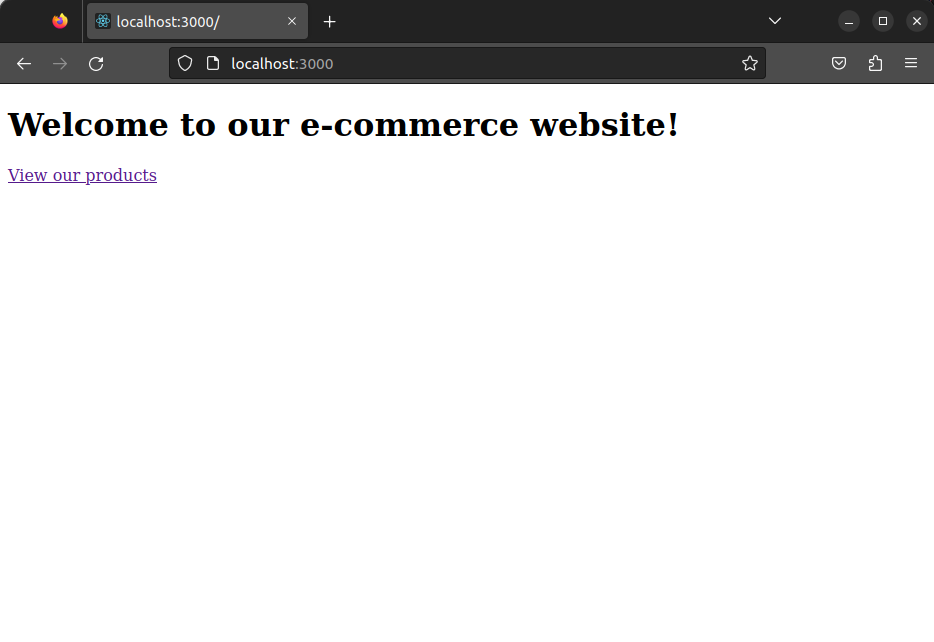
If you view the source code of the page in your browser, you will also see that the product list is included in the HTML markup, which means the page was rendered on the server.
Congratulations, you now know how to implement server-side rendering in a Next.js application!
Implementing server-side rendering using Express.js
Let's now see how we can implement the same use case in an Express.js application:
Step 1: Create a new Express.js application
To get started, you will have to create a new directory for your project and run the following command in your terminal:
npm init
Now you can see a package.json file in your project directory.
Then install Express.js and necessary dependencies by running the following command:
npm install express react react-dom next
This is what package.json looks like now.
 {
 "name": "express-demo",
 "version": "1.0.0",
 "description": "",
 "main": "index.js",
 "scripts": {
"test": "echo \"Error: no test specified\" && exit 1"
 },
 "author": "",
 "license": "ISC",
 "dependencies": {
 "express": "^4.18.2",
 "next": "^13.1.6",
 "react": "^18.2.0",
 "react-dom": "^18.2.0"
 }
 }
Please note the versions of the packages mentioned above as they were used when this guide was created.
Step 2: Configure the environment configuration
We will now define an environment variable to be stored in a .env.local file, which stores configuration settings that can be used in different environments (e.g. development, testing, production).
To set an environment variable in your project. You will have to create a file called .env.local in the root of your project directory and add a line like the following:
API_URL=
It is important to note that you should not check this file into source control as it may contain sensitive information such as database credentials or API keys.
Instead, you can create a template file called .env.example that contains placeholder values for your environment variables and check that file into source control. Other developers can then copy this file and fill in the environment variable values.
Step 3: Configure the server
Now create a new file called server.js in the root of your project directory and add the following code:
 const express = require('express')
 const next = require('next')

 const dev = process.env.NODE_ENV !== 'production'
 const app = next({ dev })
 const handle = app.getRequestHandler

 app.prepare .then( => {
 const server = express

 server.get(" (req, res) => {
  return app.render(req, res, '/home')
 })

 server.get(" (req, res) => {
  return app.render(req, res, "
 })


 server.all('*', (req, res) => {
  return handle(req, res)
 })

 server.listen(3000, (err) => {
  if (err) throw err
  console.log('> Ready on ')
 })
 })
This code sets up an Express.js server that listens for incoming requests on port 3000. The app object is an instance of the Next.js application, which we use to render pages in response to requests.
In this example, we configure two routes: / and /products. When a request arrives for any of these routes, the server calls app.render to render the corresponding page. If the requested route doesn't match any of them, the server resorts to the handle function, which serves the appropriate page using client-side rendering.
Step 4: Create the homepage
Create a new file called pages/home.js in a directory called pages in the root of your project directory and add the following code:
 import Link from 'next/link'

 function HomePage {
 return (
  <div>
   <h1>Welcome to our e-commerce website!</h1>
   <Link href="
    <a>View our products</a>
   </Link>
  </div>
 )
 }

export default HomePage
This code defines a simple home page that displays a welcome message and a link to view the products page.
Step 5: Create the products page
Create a new file called pages/products.js in the pages directory and add the following code:
 import { useEffect, useState } from 'react';

 function ProductsPage {
 const (products, setProducts) = useState( );

 useEffect( => {
 async function fetchProducts {
  const response = await fetch('/api/products');
  const data = await response.json;
  setProducts(data.products);
 }

 fetchProducts;
 }, );

 return (
 <div>
  <h1>Products</h1>
  <ul>
   {products.map(product => (
    <li key={product.id}>{product.name}</li>
   ))}
  </ul>
 </div>
 );
 }

 export default ProductsPage;
This code defines a products page that displays a list of products obtained from an API endpoint. The useEffect hook is used to manage state and fetch data from the server. When the component is mounted, the useEffect hook calls the fetchProducts function to retrieve the products from the API.
Step 6: Create the API endpoint
Now you will have to add an API endpoint for products in the server.js file present in the root of your project directory and add the following code:
  server.get('/api/products', (req, res) => {
  const products = (
   { id: 1, name: 'Product 1' },
   { id: 2, name: 'Product 2' },
   { id: 3, name: 'Product 3' },
  );

  res.status(200).json({ products });
 });
This code defines an API endpoint that returns a list of products. This endpoint would fetch data from a database or other data source in a real-world scenario.
The updated server.js should look like this:
 const express = require('express')
const next = require('next')

 const dev = process.env.NODE_ENV !== 'production'
 const app = next({ dev })
 const handle = app.getRequestHandler

 app.prepare .then( => {
 const server = express

 server.get(" (req, res) => {
 return app.render(req, res, '/home')
 })

 server.get(" (req, res) => {
 return app.render(req, res, "
 })

 server.get('/api/products', (req, res) => {
 const products = (
 { id: 1, name: 'Product 1' },
 { id: 2, name: 'Product 2' },
 { id: 3, name: 'Product 3' },
 );

 res.status(200).json({ products });
 });


 server.all('*', (req, res) => {
 return handle(req, res)
 })

 server.listen(3000, (err) => {
 if (err) throw err
 console.log('> Ready on ')
 })
 })
Step 7: Start the server
Start the Express.js server by running the following command in your terminal:
node server.js
This will start the server and make it available in .
When you navigate to /, you should see the home page with a link to the products page.
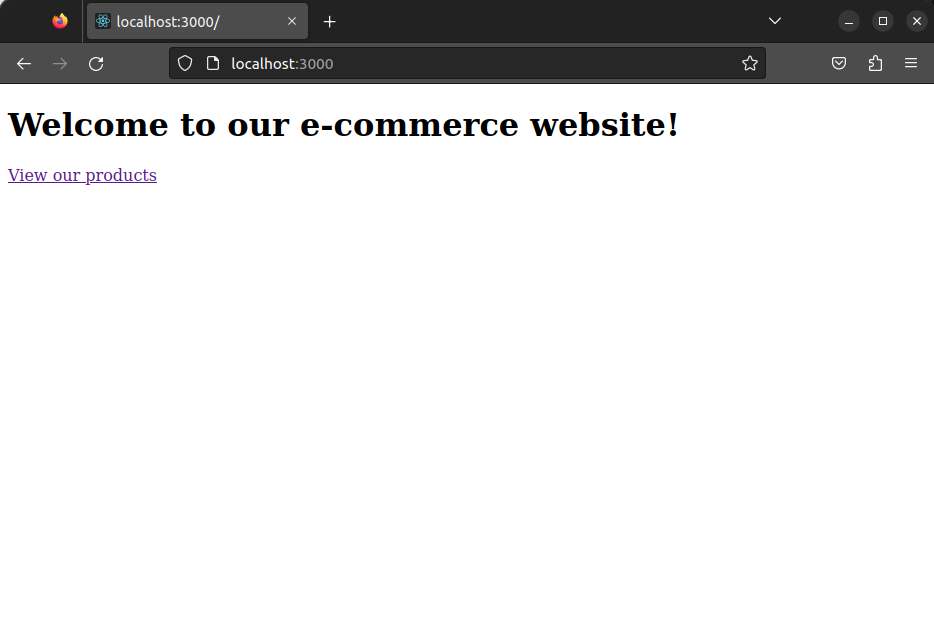
Clicking the link will take you to the products page, displaying a list of products obtained from the API endpoint.
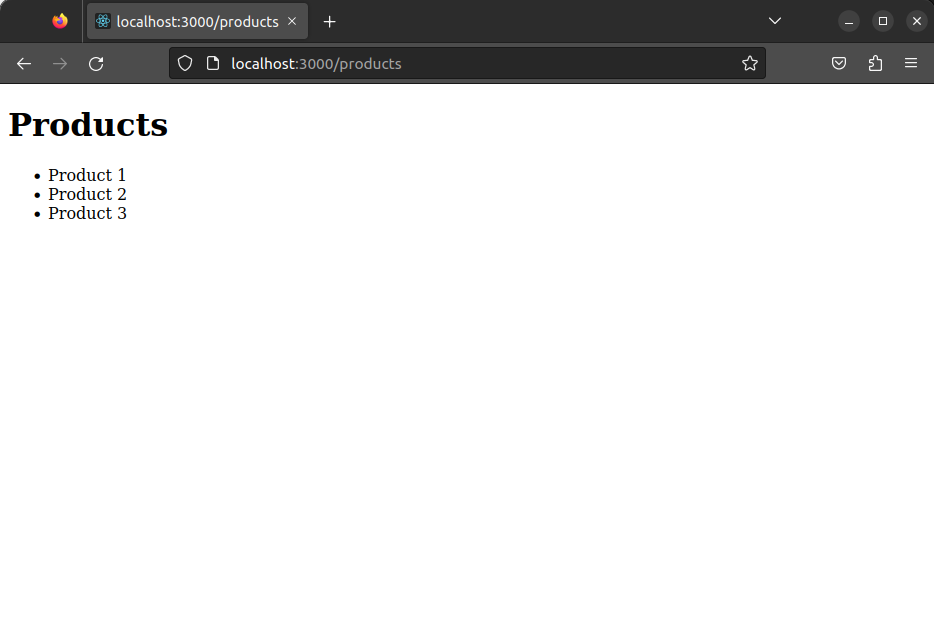
Congratulations, you now know how to implement server-side rendering in a Next.js and Express.js application!
Server-Side Rendering: SEO vs. Performance
Server-side rendering (SSR) can bring SEO and performance benefits, but there can be tradeoffs.
SEO Benefits
- SSR improves SEO by making it easier for search engines to crawl and index content.
- SSR sends fully rendered HTML to the client, making the content easier for search engines to understand.
- Search engines may rank SSR pages higher because they provide a better user experience.
- SSR can help ensure that all page content is visible to search engines, including JavaScript-generated content.
Performance Benefits
- CSR can provide faster initial page load times because the browser can start rendering the page as soon as it receives the initial HTML and JavaScript files.
- SSR can be slower for initial page loads because the server needs to render the HTML, CSS, and JavaScript before sending it to the client.
- Once the page loads, subsequent website navigation may be faster because the server has already done the work of rendering.
- SSR can reduce client-side processing, which would benefit slower devices.
- SSR can help reduce the number of network requests required to load a page, improving performance.
Compensations
- The tradeoff between SEO and performance may not be significant for some sites.
- For complex sites with lots of dynamic content, the performance impact of SSR can outweigh the benefits of SEO.
- SSR can be more difficult to implement and maintain than CSR, increasing development costs.
Final thoughts
In conclusion, server-side rendering in React offers a powerful solution for creating dynamic, high-performance web applications. We can optimize page loading speeds, provide a better experience for users with slower devices or limited processing power, and maintain consistency across browsers by rendering web pages on the server before delivering them to the client.
While some challenges are associated with server-side rendering, such as increased complexity and maintenance considerations, modern technologies like Next.js and Express.js have made implementation and optimization easier. With caching strategies and proper infrastructure support, server-side rendering can greatly improve the overall user experience and provide a more SEO-friendly solution for complex websites such as e-commerce platforms.
Overall, server-side rendering should be considered a valuable tool in the React developer's toolkit, especially for projects with large amounts of dynamic content or heavy backend logic. It can provide considerable benefits in performance, user experience, and search engine optimization if proper design and implementation are taken care of.
As React continues to gain popularity, it's crucial to have skilled and experienced developers to bring your projects to life. You might want to check this out to understand how to hire a React developer who can provide high-quality solutions tailored to your needs.
Frequently Asked Questions (FAQ)
Is React server-side rendering faster?
React server-side rendering can be faster than client-side rendering in certain scenarios. For example, if your application has a large amount of content or data that needs to be loaded before rendering the page, SSR may provide a faster initial load time than CSR. However, in cases where most of the content is dynamically generated by JavaScript, CSR can be faster.
Is SSR worth it?
Whether or not SSR is worth it depends on the specific needs and requirements of your application. SSR can provide benefits such as improved initial load times, better SEO, and improved performance on low-end devices or slow network connections. However, implementing SSR can also add complexity to your application and may not be necessary for all use cases.
Is Facebook a CSR or SSR?
Facebook uses a combination of CSR and SSR in its applications. They use SSR for the initial loading of some of their pages, like the news feed, but rely heavily on CSR for dynamic updates and interactions.
When should I use SSR?
SSR can be useful in a number of scenarios, including when you have a large amount of data or content to load, to improve SEO, or to improve performance on slow network connections. SSR can also be useful for applications that require a high level of accessibility or for applications that need to be rendered on low-end devices. However, SSR can add complexity and overhead to your application, so it's important to carefully consider the advantages and disadvantages before deciding to use it.
If you liked this article about React, check out these topics;
- React best practices
- React UI component libraries
- Top 6 React IDEs and Editors
- React vs Backbone JS
- Why is React so popular?
- What you need to know about react
- React WebSockets: Tutorial


