Node.js is the most popular server right now. Due to its asynchronous and non-blocking nature, Node is the obvious choice for real-time web applications such as chat rooms, single page applications, video streaming, etc. For the same reasons, Node is attracting IoT engineers. Because web applications developed on Node operate in real-time, they are best suited for implementing web-driven and time-critical embedded operations. Furthermore, with express.js added to Node, you can program both the backend and frontend of the network application in the same language, i.e. JavaScript.
A popular framework called “Johny-five” is used to control microcontrollers from JavaScript backend. “Johny-five” is a JavaScript Robotics & IoT platform created by Rick Waldron in 2012. It is maintained by a community of passionate software developers and hardware engineers, with over 75 developers contributing to the framework. The framework can be used to control a variety of Arduino-compatible microcontrollers and SoC platforms, including Arduino, Raspberry Pi, Tessel 2, Particle Photon, Intel Edison, etc. For non-Arduino boards, platform-specific IO plug-ins are available. The IO plugin can make “johny-five” communicate with any hardware platform.
In this project, we will first set up a Node server and implement a backend JavaScript code to control the Arduino directly. A “johny-five” backend JavaScript can be run on a Node server to directly control Arduino and Arduino compatible boards. This is demonstrated by blinking an LED on the Arduino UNO running JavaScript on a Node server.
Next, we expanded the Node server with the help of Express.js and Socket.io to host a web page and used the SerialPort JavaScript library to communicate data directly from a web page to Arduino. The Arduino will be programmed to read serial data directly from the web page and fade an LED according to the received data stream.
Required components
- Arduino UNO x1
- LEDx1
- Resistance 470Ω x1
- Breadboard x1
- Jumper Wires x1
- USB cable to connect Arduino to computer x1
Configuring the Node server
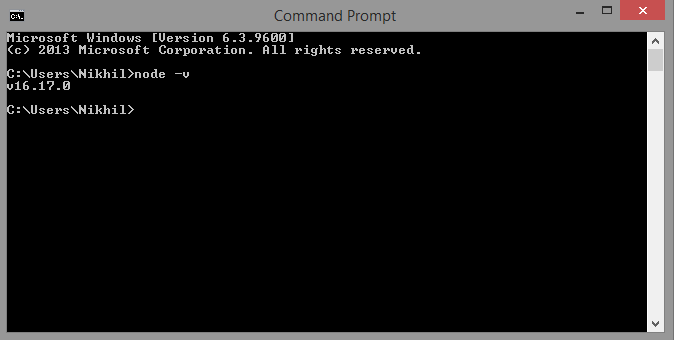
First of all, we need to install Node.js on a computer. You can download Node.js for Microsoft Windows and Mac OS from this link. Just download and run the Node.js setup on your computer. After the installation is complete, you can check the current version of Node.js installed by running the following command in command prompt in case of Windows or Terminal in case of Linux/macOS.
node -v
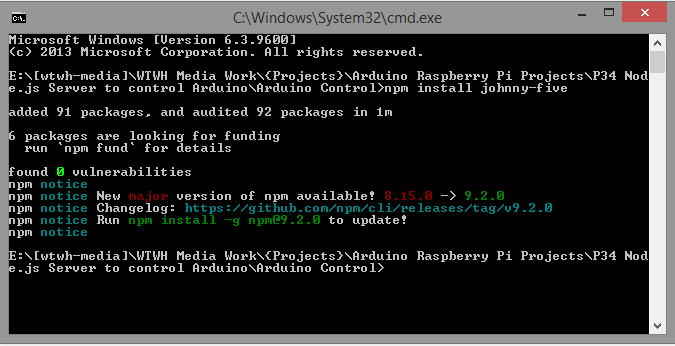
Then create a folder with the name “Arduino Control”. In the same folder, open Command Prompt/Terminal and install the johny-five library by running the following command.
npm install johny-five
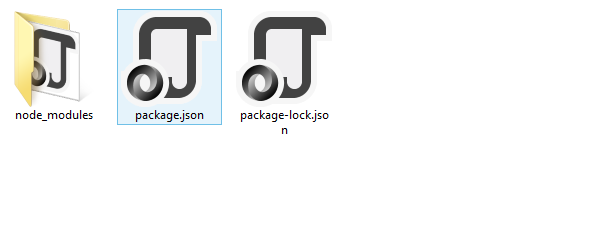
After installing the johny-five library in the indicated folder, the folder will have files and folders, as shown in the image below.
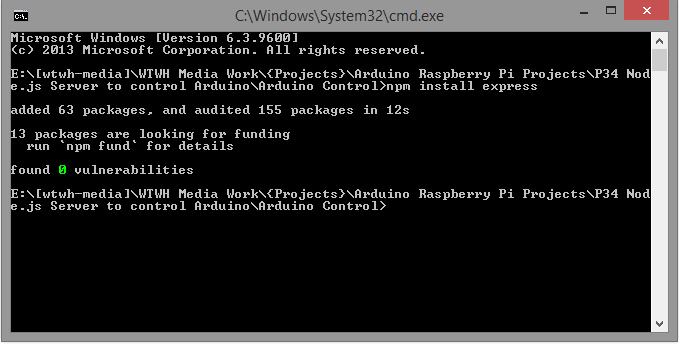
 This folder is now a Node.js project. Then install express.js in the Node project by running the following command in Command Prompt/Terminal in the same folder.
npm install express
Then install socket.io in the Node project by running the following command in Command Prompt/Terminal in the same folder.
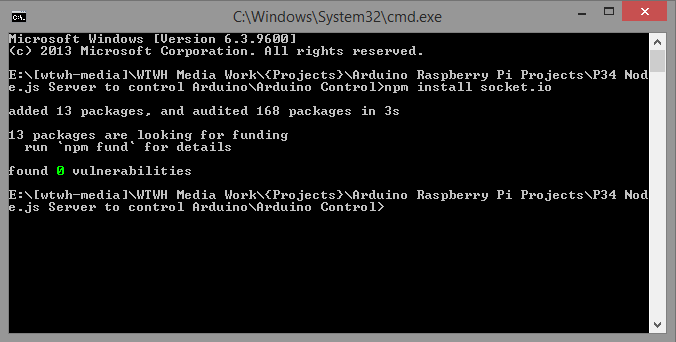
npm install socket.io
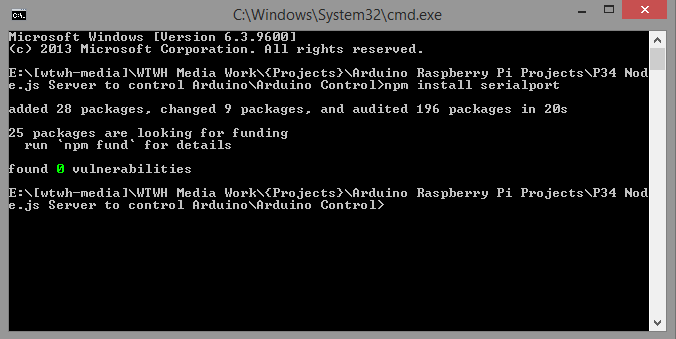
Then install the serialport JavaScript library in the Node project by running the following command in Command Prompt/Terminal in the same folder.
npm install serial port
Now our Node.js server is ready with the johny-five, express, socket.io and serialport packages installed in the Node project. All these modules are stored in the “node_modules” folder.
Preparing the Arduino for communication with the host computer
To make the Arduino communicate with a host computer, we need to implement an intermediate protocol between the Arduino and the host computer. This protocol is called the Firmata protocol. Fortunately, a Firmata library is available that implements the Firmata protocol on Arduino.
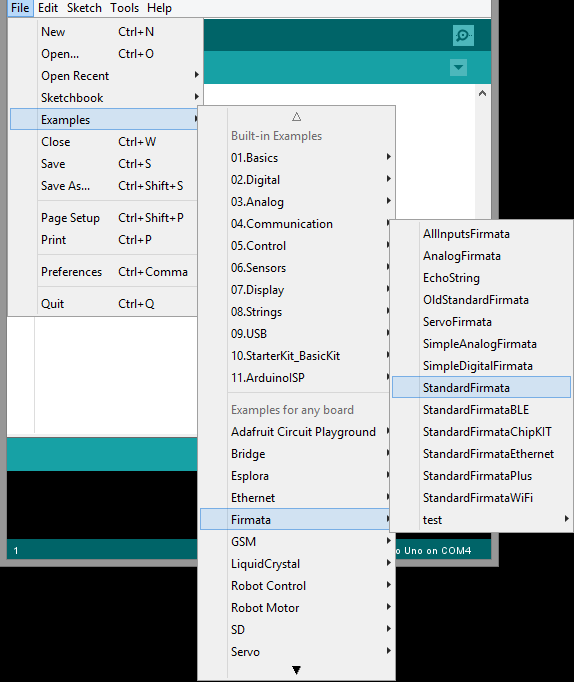
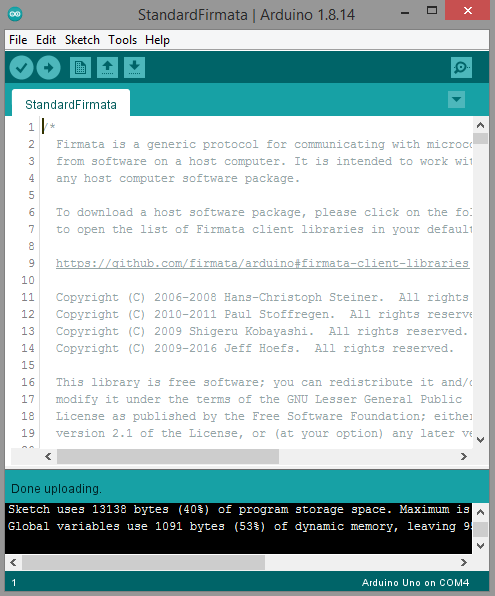
For this project, we simply need to upload a standard Firmata sketch to the Arduino so that the Arduino is receptive to what we send from our computer. Open the Arduino IDE, navigate to File->Examples->Firmata->StandardFirmata. Compile and upload the example sketch to Arduino.
Now the Arduino is ready to receive commands from the host computer and dance in the JavaScript code that we will run on the Node server.
LED blinking on Arduino using “johny-five”
We can do anything literary on the Arduino board using the “johny-five” JavaScript library. After uploading Firmata to Arduino, we have full control of Arduino from the host computer. We will exercise this control by blinking an LED on Arduino through JavaScript coding. Connect an LED to any Arduino GPIO. The following circuit diagram shows an LED connected to pin 3 of the Arduino.

Now, create a file with the name “blink.js” in the “Arduino Control” folder and open it in any code editor of your choice like Visual Studio Code, Atom, NotePad++, etc. editor and save the file.
const {Board, Led} = require(“johnny-five”);
const board = new board;
board.on(“ready”, => {
const led = new Led(5);
led.blink(500);
});
To run the project, open Command Prompt/Terminal in the same folder and run the following command to run “blink.js” on the Node server.
Blink.js node
As the “blink.js” Javascript file runs, the LED connected to the Arduino will start blinking, as shown in the following video.
(Link to P34-DV01 demonstration video)
Creating a websocket server on Node
We've already seen how to control the Arduino from JavaScript code running on a Node server. Now, let's create a web server that hosts a web page and allows sending data from the web page to the Arduino. In this project, we will use the web page to dim an LED on Arduino.
To build a web server, create a file called “fade.js” in the “Arduino Control” folder. Copy and paste the following code into fade.js. const expression = requires('express');
const app=express ;
const http = requires('http');
const server = http.createServer(app);
app.get('/', (req, res) => {
res.sendFile(__dirname + '/public/index.html');
})
server.listen(8080, => {
console.log('listening on *:8080');
});
console.log(“Web server started, go to ' in your browser.”);
This is a simple Node.js web server built using express.js. The server simply fetches index.html from the “/public/” folder and publishes the web page as a response when port 8080 is opened on local host.
The JavaScript code for the express web server starts by importing express.js. A new application is instantiated using the express module. The HTTP module is imported to handle HTTP requests. A server object is instantiated by calling the http.createServer method on the “app” express object. To send index.html from “public” folder as http response, app.get method is called. The IP address and port are set to localhost and port 8080 for the Node server to listen to by calling the server.listen method. The callback also prints a message to the console. Finally, it is notified that the server is running at localhost:8080 by printing another message to the console. These messages will be printed in the command prompt/Terminal from where the server application will be executed.
Create a “public” folder inside the “Arduino Control” folder and create a file with the name “index.html”. The index.html contains a slider to control the LED brightness. It uses socket.io to send or emit (in socket.io terminology) browser slider values to the Node server. Open index.html in a code editor of your choice and paste the following HTML code.
Save and close index.html. Notice how the socket.io object is instantiated using the connect.io method, and a “led” listener function is defined using the socket.on method to communicate the browser slider value to the Node server.
The HTML page can be better presented by adding some CSS. Open style.css in any code editor of your choice and paste the following stylesheet code. In the same “public” folder that contains “index.html”, create a file with the name “style.css”.
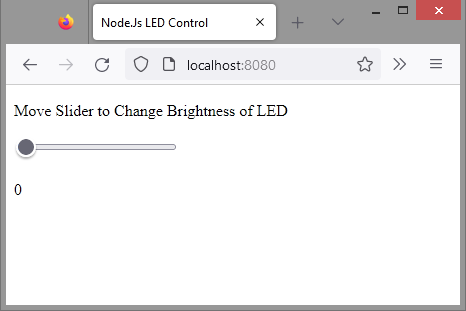
Save and close style.css. Now the web page looks like the following.
Preparing the Arduino to receive serial data
We are not directly fading the LED for JavaScript running on the Node server. Instead, the Node server hosts a web page at localhost:8080. The web page receives user input and communicates the browser input data to the Node server. Then, the Node server groups the received data into a buffer object and communicates with the serial port that the Arduino is connected to on the host computer. Therefore, the Arduino must be programmed to read serial data from the host computer and dim the LED by generating a PWM signal on the respective pin. Instead of Firmata, now upload the following sketch to Arduino.
null configuration
{
Serial.begin(9600);
pinMode(3, OUTPUT);
}
empty loop
{
while(!Serial.available );
analogWrite(3, Serial.read );
}
The LED is connected to pin 3 of the Arduino as shown in the circuit diagram above. GPIO3 is also a PWM pin, so it can fade the LED using the analogWrite method.
Faded LED on Node.js Server Arduino
To dim the LED on Arduino, we need to send data from the host computer's serial port to the Arduino. For this, the JavaScript serialport library is used. The library is already installed in the Node project during the Node server configuration.
Now, add the following lines to “fade.js” to instantiate a serial port in the backend script.
const {SerialPort} = require('serialport');
const port = new SerialPort({
path: 'COM4',
baud rate: 9600,
});
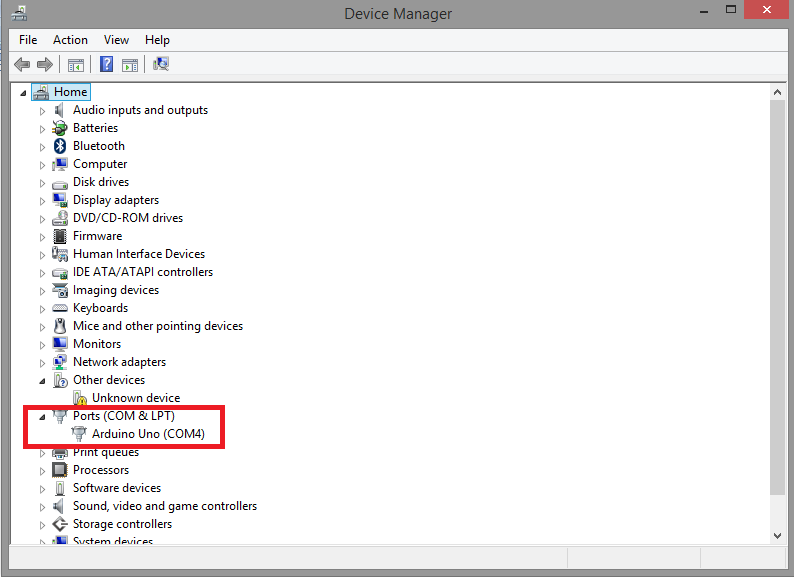
In our case, the Arduino is connected to the serial port of a Windows PC, “COM4”. The port may be different in your case. Replace the port name after the path variable according to your system, whether it is Linux or macOS or a different communication port on Windows PC. In Microsoft Windows, you can find the port your Arduino is connected to by opening “Device Manager” and navigating to “Ports”. Expand the port showing the Arduino.
On macOS and Linux, to find out which port the Arduino is connected to, open Terminal and run the following command.
ls /dev/tty*
Look for /dev/tty.usbmodem* or /dev/tty.usbserial* for macOS or /dev/ttyUSB* or /dev/ttyACM* for Linux.
Create a global variable “brightness” to store the LED brightness. Finally, use socket.io to communicate the slider value from the Node server to the host computer's serial port. Add the following JavaScript code to fade.js to instantiate a socket.io object.
Notice how the same back-end script hosts a web page on localhost, receives input from the web page in a browser, transfers the data to the server, and communicates the data from the server to the host computer's serial port.
To run the project, open Command Prompt/Terminal in the same folder, “Arduino Control” and run the following command to run “fade.js” on the Node server.
fade.js node
As the Javascript file “fade.js” will be executed, open the URL “localhost:8080” in a web browser and move the slider to control the brightness of the LED connected to the Arduino. The execution of the project is demonstrated in the following video.
You can download the complete project files from the link below.
Arduino-Control.ZIP