Technology and Development
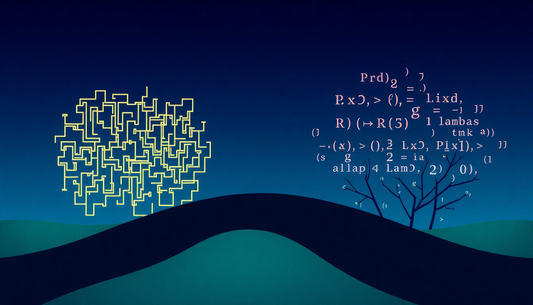
Prolog vs. Lisp: Explorando a Programação Lógic...
A escolha da linguagem de programação certa pode fazer toda a diferença no desenvolvimento de aplicativos complexos e sistemas inteligentes. Neste post, vamos mergulhar na comparação entre duas abordagens distintas:...
Prolog vs. Lisp: Explorando a Programação Lógic...
A escolha da linguagem de programação certa pode fazer toda a diferença no desenvolvimento de aplicativos complexos e sistemas inteligentes. Neste post, vamos mergulhar na comparação entre duas abordagens distintas:...
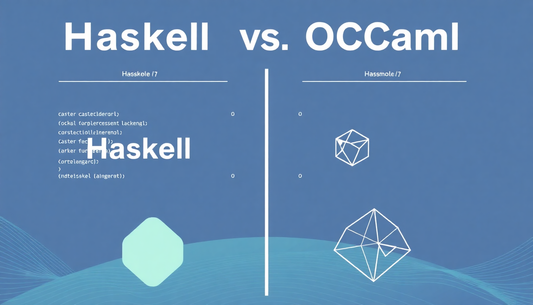
Haskell vs. OCaml: Escolhendo a Linguagem Funci...
Na era da computação moderna, onde a eficiência e a confiabilidade são cruciais, a escolha da linguagem de programação certa pode fazer toda a diferença. Neste artigo, vamos explorar as...
Haskell vs. OCaml: Escolhendo a Linguagem Funci...
Na era da computação moderna, onde a eficiência e a confiabilidade são cruciais, a escolha da linguagem de programação certa pode fazer toda a diferença. Neste artigo, vamos explorar as...
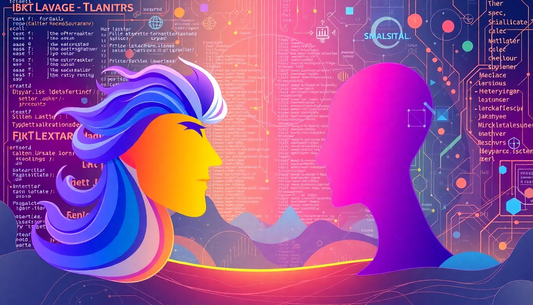
Dylan vs. Smalltalk: Programação Dinâmica e Ori...
Quando se trata de linguagens de programação, a diversidade é abundante, cada uma com suas próprias características, forças e aplicações específicas. Neste blog, vamos mergulhar na comparação entre duas linguagens...
Dylan vs. Smalltalk: Programação Dinâmica e Ori...
Quando se trata de linguagens de programação, a diversidade é abundante, cada uma com suas próprias características, forças e aplicações específicas. Neste blog, vamos mergulhar na comparação entre duas linguagens...
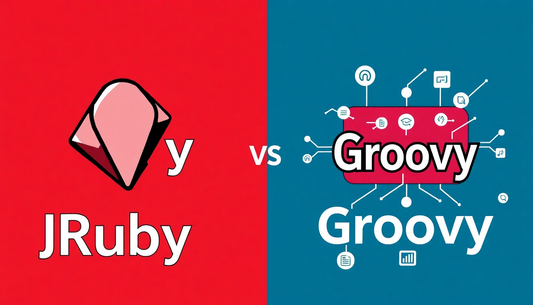
JRuby vs. Groovy: Desenvolvimento JVM Dinâmico
A escolha entre JRuby e Groovy pode ser um desafio para desenvolvedores que trabalham em ambientes Java. Ambas as linguagens oferecem vantagens únicas, mas é importante entender as diferenças para...
JRuby vs. Groovy: Desenvolvimento JVM Dinâmico
A escolha entre JRuby e Groovy pode ser um desafio para desenvolvedores que trabalham em ambientes Java. Ambas as linguagens oferecem vantagens únicas, mas é importante entender as diferenças para...
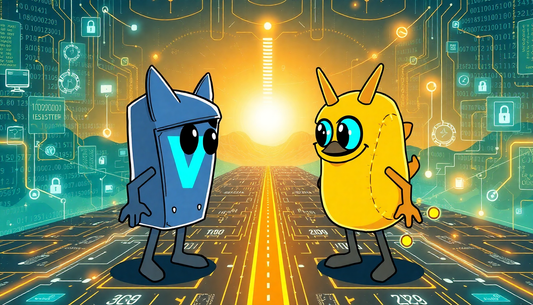
V vs. Zig: Linguagem Certa para Desenvolvimento...
Na era digital em constante evolução, a escolha da linguagem de programação certa se torna cada vez mais crucial para o desenvolvimento de sistemas eficientes e seguros. Neste artigo, vamos...
V vs. Zig: Linguagem Certa para Desenvolvimento...
Na era digital em constante evolução, a escolha da linguagem de programação certa se torna cada vez mais crucial para o desenvolvimento de sistemas eficientes e seguros. Neste artigo, vamos...
Crystal vs. Nim: Desenvolvimento de Sistemas e ...
O mundo do desenvolvimento de software está em constante evolução, e as linguagens de programação desempenham um papel fundamental nesse cenário. Duas linguagens que têm ganhado destaque são o Crystal...
Crystal vs. Nim: Desenvolvimento de Sistemas e ...
O mundo do desenvolvimento de software está em constante evolução, e as linguagens de programação desempenham um papel fundamental nesse cenário. Duas linguagens que têm ganhado destaque são o Crystal...