1. Overview
The traditional product manufacturing process typically follows a design-first, manufacture-later sequence. Sometimes, the resulting product may face crucial issues during manufacturing and assembly, such as manufacturing difficulties, assembly interference, or worse, inability to manufacture and produce.
This is often due to a lack of familiarity with the manufacturing process on the part of the designer or a lack of communication between the designer and other technical personnel. As industry data shows, product design accounts for 5% of product cost, but determines 75% of total manufacturing cost and 80% of product quality and performance.
Therefore, to improve product processability, ensure quality and performance, reduce production costs and shorten the prototype cycle, it is crucial to use Computer Aided Design and Manufacturing (CAD/CAM) during product design, facilitating extensive linking of information and feedback. between design and manufacturing.

With this linkage of information and feedback, designers can improve their designs in a timely manner, ensuring product design, process and manufacturing success at the same time.
CAD/CAM involves the use of computers to generate and apply various digital information to design and manufacture products. It is characterized by high intelligence, knowledge intensity, rapid updating, tight integration and high efficiency. Its processing capacity continues to increase as computer hardware and software technology advances.
CAD/CAM is commonly used in mechanical, electronic, textile, aviation, shipbuilding and other industries for general design, modeling, structural design, optimized design, mechanism motion simulation design, element analysis pre- and post-processing finite, product quality. characteristics calculation, process design, numerical control processing and more.
1.1 Computer Aided Design (CAD)
Computer-Aided Design (CAD) involves using computer software to create and simulate the shape, structure, color, texture, and other features of newly developed products. As this technology continues to evolve, CAD is widely used in various fields such as graphic printing and publishing.
The range of CAD applications is wide, including architectural design drawing, mechanical drawing, circuit diagrams, and various other design methods.
Initially, CAD was used mainly in large companies in the automotive, aerospace and electronics industries. However, with the continued decrease in computer manufacturing costs, their range of applications has expanded significantly.
Previously, drawing software was limited to flat design and lacked realism. With the continuous development of computer technology, increased efficiency and lower market prices, many companies have adopted three-dimensional designs, making designs much more intuitive.
1.2 Computer Aided Engineering (CAE)
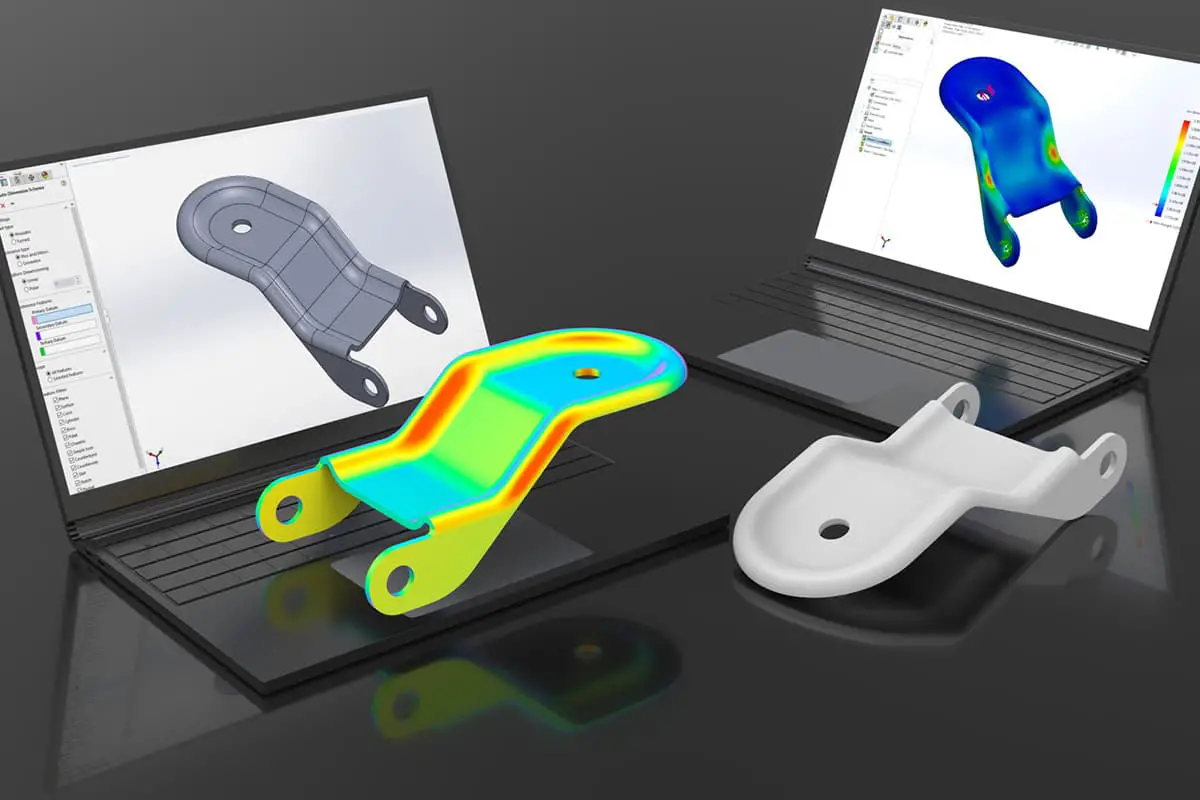
Computer Aided Engineering (CAE) is a numerical approximation method used to solve complex engineering and product structural strength, stiffness, buckling stability, dynamic response, heat conduction, three-dimensional multibody contact, elasto-plasticity and other analytical calculations such as as well as structural performance optimization design issues.
The basic idea of CAE is to divide the solution area of a complex-shaped continuum into simple finite subregions, that is, to simplify a continuum into an equivalent composite body composed of finite elements. By discretizing the continuum, the problem of solving field variables (stress, displacement, pressure, temperature, etc.) on the continuum is simplified to solving the values of the field variables at the finite element nodes.
The basic equations to be solved at this point are a set of algebraic equations, not the original differential equations describing the real field variables of the continuum. The solutions obtained are approximate numerical solutions, and the degree of approximation depends on the type and number of elements used and the interpolation function of the elements.
CAE software can be divided into two categories:
1. Dedicated CAE software developed for specific types of engineering or products, used for product performance analysis, prediction, and optimization.
2. General-purpose CAE software that can analyze, simulate, predict, evaluate and optimize the physical and mechanical properties of various types of engineering and products to achieve technological product innovation. The main body of CAE software is Finite Element Analysis (FEA) software.
The role of CAE in computer-aided design and manufacturing is mainly manifested in the following aspects:
1. Improving design capabilities, ensuring the rationality of product design and reducing design costs through computational analysis and calculation.
2. Shorten the design and analysis cycle.
3. The role of “virtual prototypes” played by CAE analysis largely replaces the resource-consuming “physical prototype validation design” process in traditional design. The role of “virtual prototypes” can predict product reliability throughout its life cycle.
4. Use optimal design to find the best product design solution while reducing material consumption and costs.
5. Discover potential problems before product manufacturing or engineering construction.
6. Simulate multiple testing schemes, reducing testing time and expenses.
7. Perform mechanical accident analysis to find the cause of accidents.
1.3 Computer Aided Process Planning (CAPP)
Computer Aided Process Planning, abbreviated as CAPP, refers to the use of computer hardware and software technology and environment to develop part machining processes through numerical calculations, logical judgments and reasoning. With the help of a CAPP system, issues such as low efficiency of manual process design, low consistency, unstable quality and difficulty in optimization can be resolved.
CAPP is a technology that converts enterprise product design data into product manufacturing data. Through this computational technology, process designers are assisted in completing projects, from raw materials to finished products. CAPP serves as a bridge that connects design and production in the construction of business informatization and also provides relevant data to the company's management department, acting as an intermediate link in the exchange of business information.
The purpose of CAPP is to use computers to develop part machining processes, processing raw materials into parts required by engineering drawings. This is achieved by entering geometric information (shape, size, etc.) and process information (materials, heat treatment, batch, etc.) of the parts to be processed into the computer, which then automatically generates the process route and the content of the operation of the parties.
1.4 Computer Aided Manufacturing (CAM)
Computer Aided Manufacturing, abbreviated as CAM, is the process of using computers to manage, control and operate production equipment. The input information is the process route and operation content of the parts, and the output information is the movement path of the tool during processing (tool position file) and the numerical control program.
The core of computer-aided manufacturing is computer numerical control (CNC), which is the application of computers to the manufacturing process.
Computer-aided manufacturing systems generally have data conversion and process automation functions, and their scope includes computer numerical control and computer-aided process design.
In addition to its application in CNC machine tools, computer-aided manufacturing is also widely used in the control of various other devices, such as presses, flame or plasma arc cutting, laser beam machining, automatic plotters, welding machines, assembly, inspection machines, automatic looms, computerized embroidery and clothing cutting.
2. Application of computer-aided design and manufacturing technology in sheet metal parts
The use of computer-aided design and manufacturing technology in the design and production of sheet metal products and components significantly transforms production companies' conventional methods for designing and manufacturing sheet metal parts, even impacting their management and competitive strength.
Therefore, any company dealing with the production of sheet metal products and components must strive to research, develop or use computer-aided design and manufacturing technologies to maintain its development advantage. Sheet metal parts are characterized by their light weight, high strength, conductivity (suitable for electromagnetic shielding), low cost and excellent mass production capability.
Currently, they are widely used in areas such as electronics, communications, automotive industry and medical equipment. For example, sheet metal parts are essential components in computer cases, cell phones, and cases for power products.
With the increasingly widespread application of sheet metal parts, their design has become a crucial aspect of the product development process. This requires development designers to be proficient in computer-aided design and manufacturing techniques of sheet metal parts, ensuring that the designed parts meet the functional and aesthetic requirements of the product, while also simplifying die manufacturing and reducing costs. .
The process of computer-aided design and manufacturing of sheet metal parts begins with computer-aided design, goes through numerical simulation of unfolding, nesting, cutting, stamping, bending and other procedures, and ends with the computer automatically generating the route of the part process, operation content, tool movement path (tool position file) and numerical control program.
The most important aspects are the calculation of dimensions for unfolding sheet metal parts, graphic design and the preparation of numerical control programs. The computer evaluates the individual characteristics of sheet metal parts and the relationships between them from mathematical analysis and manufacturing perspectives (sheet metal process parameters), providing instant feedback to product designers to modify any unreasonable structural designs.
2.1 Computer-aided design and deployment of sheet metal parts
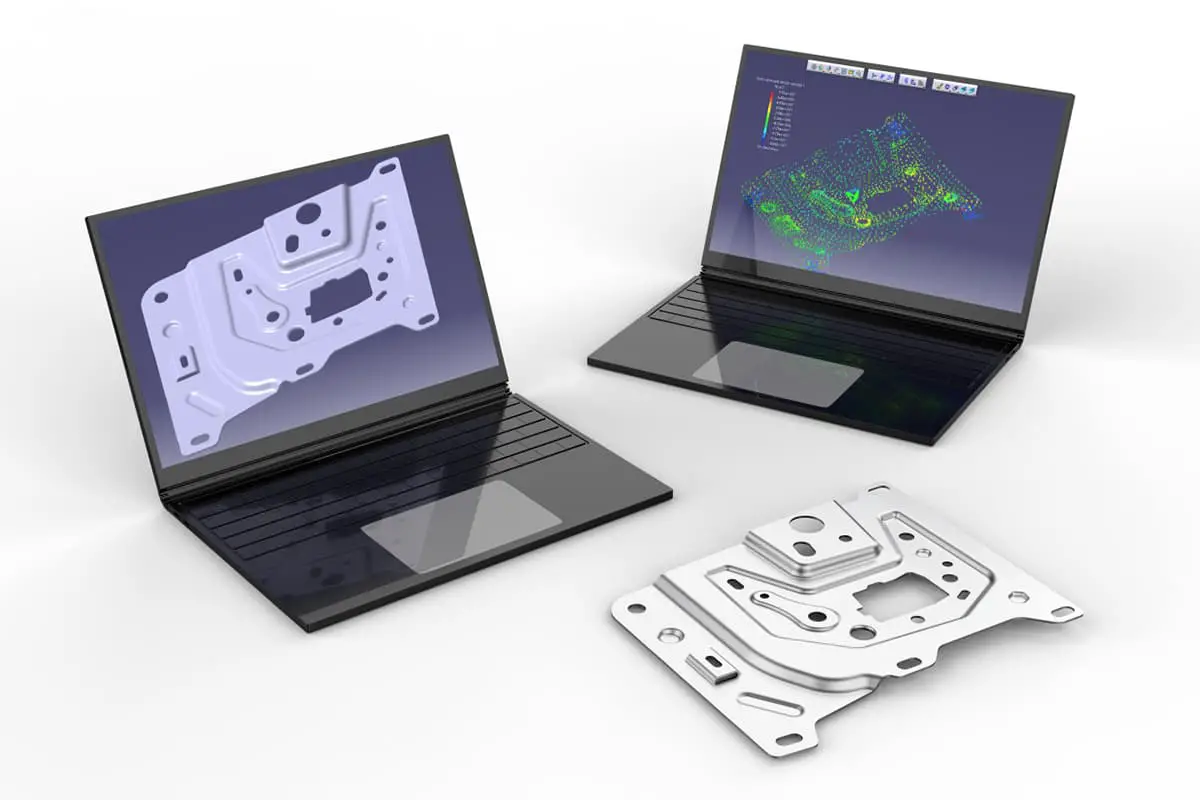
Sheet metal parts can generally be divided into three categories: flat parts (i.e., flat stamped parts in general), bent parts (i.e., parts formed by sheet metal bending or bending processing), and formed parts (i.e., parts made by drawing and other forms). methods, whether regular or free-form surface parts). Sheet metal parts differ significantly from parts produced by common machining methods.
Among many stamping processes of sheet metal parts, bending deformation (press bending process) is the main method of creating complex spatial relationships. The design and unfolding of various regular or complex shaped sheet metal parts can be divided into two methods based on models and style.
Traditional sheet metal cutting methods include drawing and calculation methods. Basic drawing methods include parallel line, radiating line, and triangular line methods; calculation methods replace the layout and drawing process in drawing methods by calculating the coordinates and line lengths of characteristic points in the unfolded drawing and then drawing the calculated results.
Using a computer to complete these calculations is the most basic model-based sheet metal CAD method. For frequently used box-type parts, vertical axis, door panel and other types of sheet metal, the model-based design unfolding method requires a certain amount of work to build the model, but it is very reliable and efficient when used.
There are two geometric modeling methods for sheet metal parts: 2D sheet metal geometric modeling and 3D sheet metal geometric modeling. The first includes encoding methods, facet assembly methods, and interactive size input methods; the latter includes flexural transformation assembly methods, voxel assembly methods, etc.
The common disadvantage of these methods is that when the definition is incorrect, modifications are very complicated and may even require new information to build the model. The most effective way to overcome these shortcomings is to use feature modeling techniques such as SolidWorks, Pro/E, UG, CATIA, etc., which are design platforms that use feature modeling to build models of sheet metal products.
The functions and modeling methods of various CAD/CAM systems are different. Simple modeling methods only use regular surfaces and solid modeling, while complex modeling methods have advanced surface modeling and solid modeling functions, such as part design applications that provide functions such as scanning, deep drawing, ribs, spiral, cutting , etc., and sheet metal design can automatically generate bending, automatic unfolding and simulation process holes.
1. Assembly modeling operation method
The use of basic solid geometric elements such as thin sheet cubes and hollow cylinders, gradually combined to grow into the geometric model of the part, is the basic method of sheet metal modeling. The elements used in the assembly modeling method can be thin surface elements or thick volume elements.
Many sheet metal parts are made of plates of equal thickness, which allows the use of thinner surface blocks in the forming process to build the basic structure of the sheet metal part and then specify the direction to increase the thickness. thickness of the part. This method of first designing a thick structural frame and then developing a thick part is also applicable to complex sheet metal parts such as overlays.
2. Resource Modeling Methodology
A characteristic is a collection of product descriptive information, not only presenting a specific shape formed according to certain topological relationships, but also reflecting a specific engineering semantics, suitable for use in design, analysis and manufacturing.
Features can be categorized into shape features, precision features, and material features. Among them, the shape feature is fundamental, serving as a support or basis for other features and the core for implementing parametric feature modeling. It can define geometric bodies or entities with certain engineering significance.
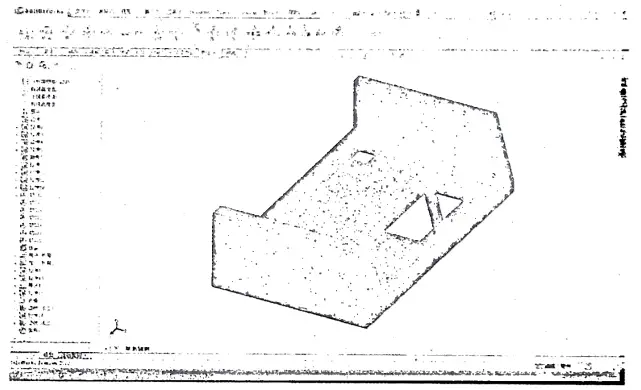
Sheet metal parts can be decomposed into one or more shape features. From a feature modeling perspective, a sheet metal part comprises a series of features and their interconnections form a complete component. An example of feature modeling of a sheet metal box is shown in Figure 10-1.
Based on the characteristics of sheet metal parts, the following main characteristics can be summarized:
1) Flat features, which refer to the flat shape that makes up the component, are the basic parts of the component, the connecting section of the bent parts, and the parent body for local forming and punching.
2) Flexural features, which are shapes produced by bending processes. The simplest bending feature is represented by a cylindrical bending area.
3) Hole features, which act as general subfeatures and are attached to other features, such as punching in a plane or bending feature.
4) Local forming features, which are shapes produced by local forming processes in stamped parts, generally have fixed shapes and types of feature parameters, but the numerical values change, so they can be expressed by parameters.
3. Deployment Methodology
The basic principle of the sheet metal unfolding method is to record the topological relationships between each face block and its connected face blocks during the design process and use this as the basis for unfolding.
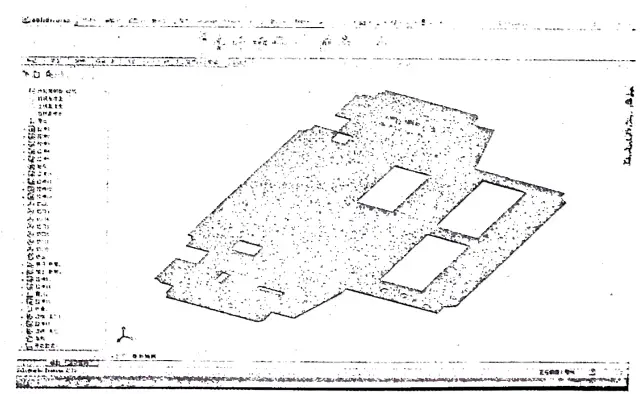
Simpler systems may first specify a reference plane, then each face to be unfolded, and step by step unfold the entire sheet metal part. Advanced CAD/CAM systems can unfold multiple surfaces in a single operation. The unfolded diagram of the box in Figure 10-1 is shown in Figure 10-2.
2.2 Computer-aided material layout
The production cost of sheet metal parts mainly includes material costs, design fees and mold fees, with material costs accounting for a significant portion. Using a computer-aided layout system is an essential way to reduce material costs.
Optimization objective function method is a widely applied method for sheet metal layout. Its underlying principle is to use the parameters Δx (translational displacement in the types of blocks of pieces participating in the layout, in the shape and number of corridors.
Iterations are performed based on a given algorithm around the objective function, and when the objective function reaches a predefined accuracy target, the iteration stops and the layout is executed based on the parameters at the time the iteration stops. To improve efficiency, the interval of some parameter changes can be corrected.
When multiple types of tile blocks participate in the layout and there are no restrictions on the parameters Δx, Δy and Δφ to duplicate multiple tile blocks, the layout effect will be greatly reduced.
At this time, some preparatory work can be done for the layout, such as judging the geometric properties of the part blocks participating in the layout, or tolerating the part blocks when searching for Δx, Δy and Δφ, and using simple methods and fewer contours circuit to replace the original contours of the workpiece block.
Different layout systems (software) have different basic functions and operating modes, but the basic content includes:
1. Sheet material selection: Choose the sheet material for the layout from the material library, including standard specifications and leftover material from previous use.
2. Specify part blocks: Specify the type and number of part blocks to be duplicated from the part block library established after expanding sheet metal parts.
3. Layout optimization: Layout of specified part blocks and their quantities in the selected sheet material. This menu level allows selection of sub-items such as single line, double line facing, mixed nesting, interactive layout, etc.
4. Layout editing: pre-process the part blocks participating in the layout or check whether there is interference in the layout results, manually adjust if necessary, and re-layout if necessary.
5. Layout results output: Output the layout results diagram and corresponding data files (including tool positions), material utilization rate, and a cutting plan report.
2.3 Compilation of numerical control instructions
Numerical control programming is currently one of the most beneficial aspects of the CAD/CAM system, playing a crucial role in achieving design and manufacturing automation, improving machining accuracy and quality, and shortening product development cycles.
Numerical control programming is the entire process that goes from drawing parts to obtaining machining programs with numerical control. Its main tasks are to calculate machining cutting points (also known as CL points), determine the cutting path sequence, determine process parameters and other process route designs, compile numerical control instruction files according to the format specific to the numerical control system and control the motion content of the numerical control instruction files.
In CAD/CAM of complex sheet metal parts, process design work is often very complicated and can be completed by a specialized CAP four system. The machining object of sheet metal cutting is flat sheet material, generally using cutting, shearing and punching methods. The process design work is relatively simple and can be included in the numerical control programming system.
Among cutting, shearing and punching, the numerical control punching instruction file is the most complex. The numerical control programming for sheet metal expansion stamping based on numerical control punching will be presented below.
1. Input of design information in compiling numerically controlled punching instructions: Sheet metal design, expansion and layout can provide outputs as graphs and data files, with dimensions marked on the graphs. The simplest method of compiling numerical control instructions is manual compilation, where humans read and analyze graphs and data.
Sheet metal expansion blanking generally only involves processing flat graphic information. Using the numerical control tool's trajectory generation method based on points and lines, programming operations can be performed directly on the graphics in a visual way. Use the cursor to specify the graphic element closest to the cursor position, and the computer confirms the geometric information of this graphic element.
2. Process design in compiling numerical control punching instructions: The basic content of process design during numerical control punching mainly includes: selecting punches, determining the punching order of each graphic element, determining the pitch distance and speed of movement of the sheet during step-by-step punching, setting the position of the gripper, etc.
Contours of the same shape and size may use different punching methods due to the operator's habits and technical level. For example, when drilling large holes and slots, smaller punches can be used to punch the contours of the holes and slots, then move the punch away, pause the machine, manually remove the remaining material in the hole, and continue processing.
Alternatively, a larger punch can be used to punch not only the contours of the holes and slots, but also the entire internal material in fragments. This choice can be made by selecting different menu branches during the programming process. In more functional CAD systems, there may be two instruction methods: chip drilling and chipless drilling.
3. Programming Punching Instructions with Numerical Control
Computer-aided programming is the process of using a computer to complete programming-related tasks that were originally done manually. In the process of writing sheet metal punching instructions, the most basic operation is to specify the punch (tool) and elements to be programmed, after which the programming system can automatically generate numerical control instruction files.
For more advanced instruction systems, programming operations also include using grouped marking instructions, calling subprograms, etc.
4. Optimization and Simulation of Punching Instructions with Numerical Control
After the numerical control punching instruction file is generated, it requires post-processing, and the basic post-processing operations are optimization and simulation.
1) Punch instruction optimization generally includes punch optimization and trajectory optimization.
The purpose of punch optimization is, on the one hand, to bring together punching instructions completed by the same punch to reduce mold changes during processing. On the other hand, it consists of organizing the punching order according to the different types of punches, generally with smaller punches first and larger punches later. Trajectory optimization mainly aims to reduce the length of the idle stroke during punching.
2) The simulation function can generally display the execution process of the punching instruction file, check whether the punching instruction is reasonable, and whether there may be interference with the gripper during the punching movement.
It can also reverse the punching instruction file into a graph and compare it with the graph before programming, analyze the consistency of the two graphs, and thus judge the correctness of the punching instruction file.

