
What should be done to properly and effectively repair a press brake's hydraulic cylinder? Are there good methods?
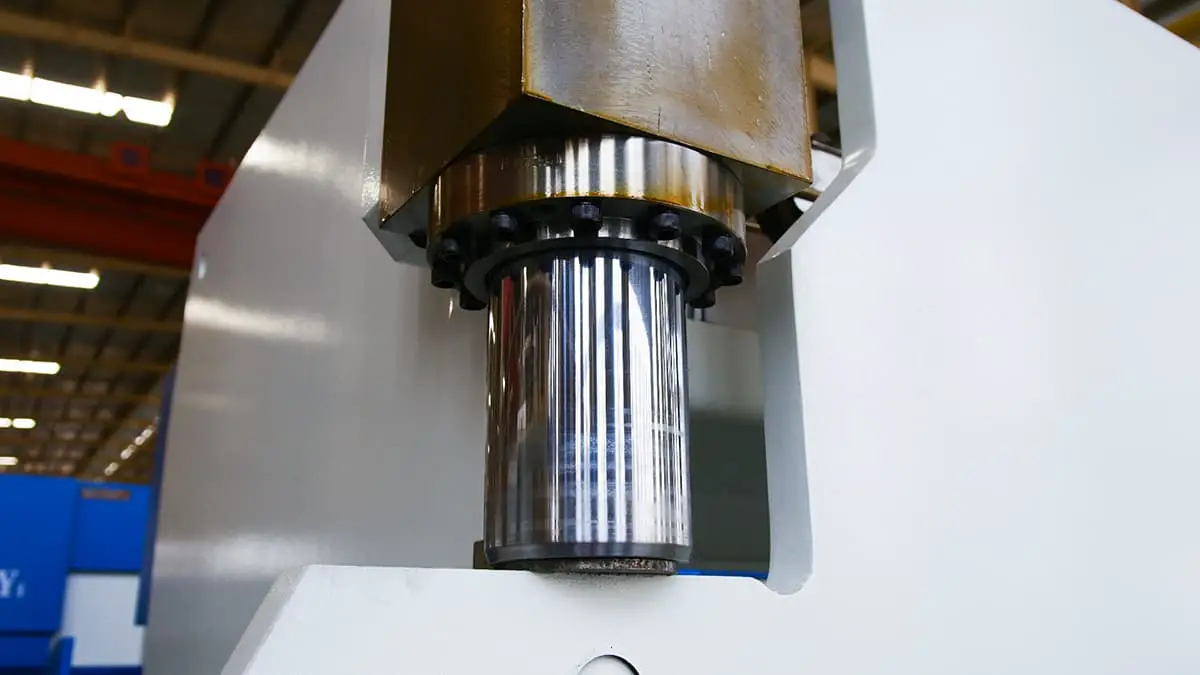
The hydraulic cylinder of a press brake consists of a piston, sleeve, piston rod and screw. Generally, oil leaks are caused by aging or deformation of the seals on the outer wall of the piston and the inner wall of the sleeve.
Of course, the most direct method is to replace the seals. Most domestic press brake manufacturers use seals made in Taiwan and Japan, so the seals have a relatively long service life.
When customers experience oil leaks from their press brake cylinders, be sure to choose high-quality, durable seals when replacing them. This way, the replaced cylinder will not leak oil for a long time.
The steps for replacing seals vary depending on the design of the press brake. Let me describe a common one!
In the hydraulic cylinder of a typical press brake, there is a worm gear and a worm block that houses a worm wheel and a screw connected to the piston.
First, disassemble this part and then remove the screw. At this point, you will need the assistance of lifting equipment or a forklift, as it is difficult and dangerous to do this manually.
Be slow when lifting the screw to avoid damaging the piston due to excessive force.
After disassembly, you will find many seals on the outer wall of the piston, generally including dust seals, O-rings, O-rings and gaskets.
The most important part is the O-ring, while the others generally do not need to be replaced unless they are severely damaged.
After replacing the seals, you will also need outside assistance in reassembling the cylinder.
Once everything is installed, the most critical step is adjusting the cylinder stroke and angles on both sides (which usually requires professional adjustment).
During adjustment, be sure to set the press brake pressure to about 5-10 MPa first and then test with some thin plates. Repeat the tests and adjust the cylinder stroke accordingly.
Generally, the cylinder on the right side serves as a reference point (depending on the actual situation), and the other cylinder is adjusted until the angles are equal.
Finally, adjust the pressure back to normal and test with thicker plates. This should complete the process!


