1. Preface
42CrMo is a medium carbon alloy structural steel known for its comprehensive mechanical properties, excellent hardenability and wide range of applications. It is often used in the machinery industry to produce gears, connecting rods, high-strength screws and other crucial components.

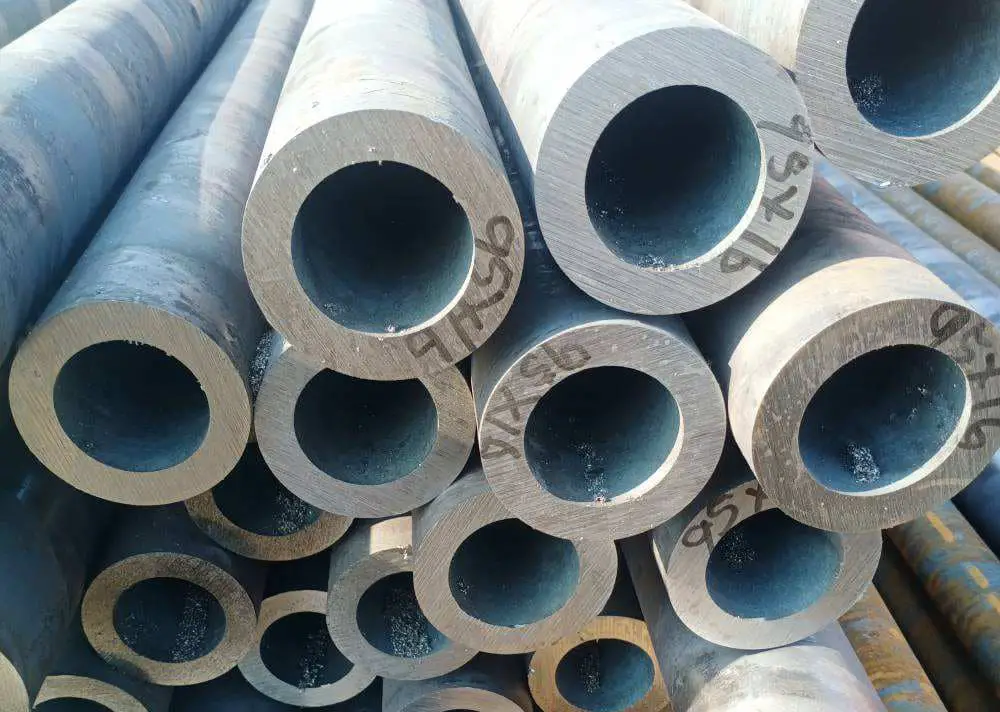
42CrMo steel forging stock is supplied by a steel mill. The manufacturing process involves refining outside the furnace, casting into ingots, forging in stock, and finally normalizing.
A company purchased this batch of forgings for use in the production of a winding shaft in a strip production rewinding unit. The final heat treatment process for the product will be quenching and tempering.
The required mechanical properties are a tensile strength of 900 to 1100 MPa, a yield strength of at least 650 MPa and an impact absorption energy of at least 40 J.
During a raw material inspection, it was discovered that the macro and micro metallographic structures were abnormal. It was preliminarily determined that the forging blank was not normalized.
In this post, we will discuss and analyze methods and possibilities for improving the quality of forged material based on physical and chemical test results. Various heat treatment schemes will be formulated.
2. Physical and chemical test
1. Analysis of chemical composition
The test material is 42CrMo steel forging material, which was found to be acceptable according to the requirements for high-quality alloy structural steel (GB/T3077-2015).
The test results, as shown in Table 1, were obtained using a Spectrolab spectrometer and meet the requirements of the standard.
Table 1 Chemical composition (mass fraction) of the forging material sample
| Element | Standard value | Measured value |
| W | 0.38~0.45 | 0.45 |
| Yes | 0.17~0.37 | 0.26 |
| Mn | 0.50~0.80 | 0.74 |
| Cr | 0.90~1.20 | 1.09 |
| Mo | 0.15~0.25 | 0.22 |
| P | ≤0.020 | 0.018 |
| s | ≤0.020 | 0.012 |
2. Metallographic examination
A metallographic inspection was carried out on the raw materials in the warehouse.
The sample was taken in accordance with the requirements of GB/T 13298-2015, which describes the method for inspection of metal microstructure. Macrostructural defects and non-metallic inclusions were evaluated using the Structural Steel Macrostructural Defect Classification Diagram GB/T 1979-2001 and GB/T 10561-2005, which describes the determination of non-metallic inclusion content in steel.
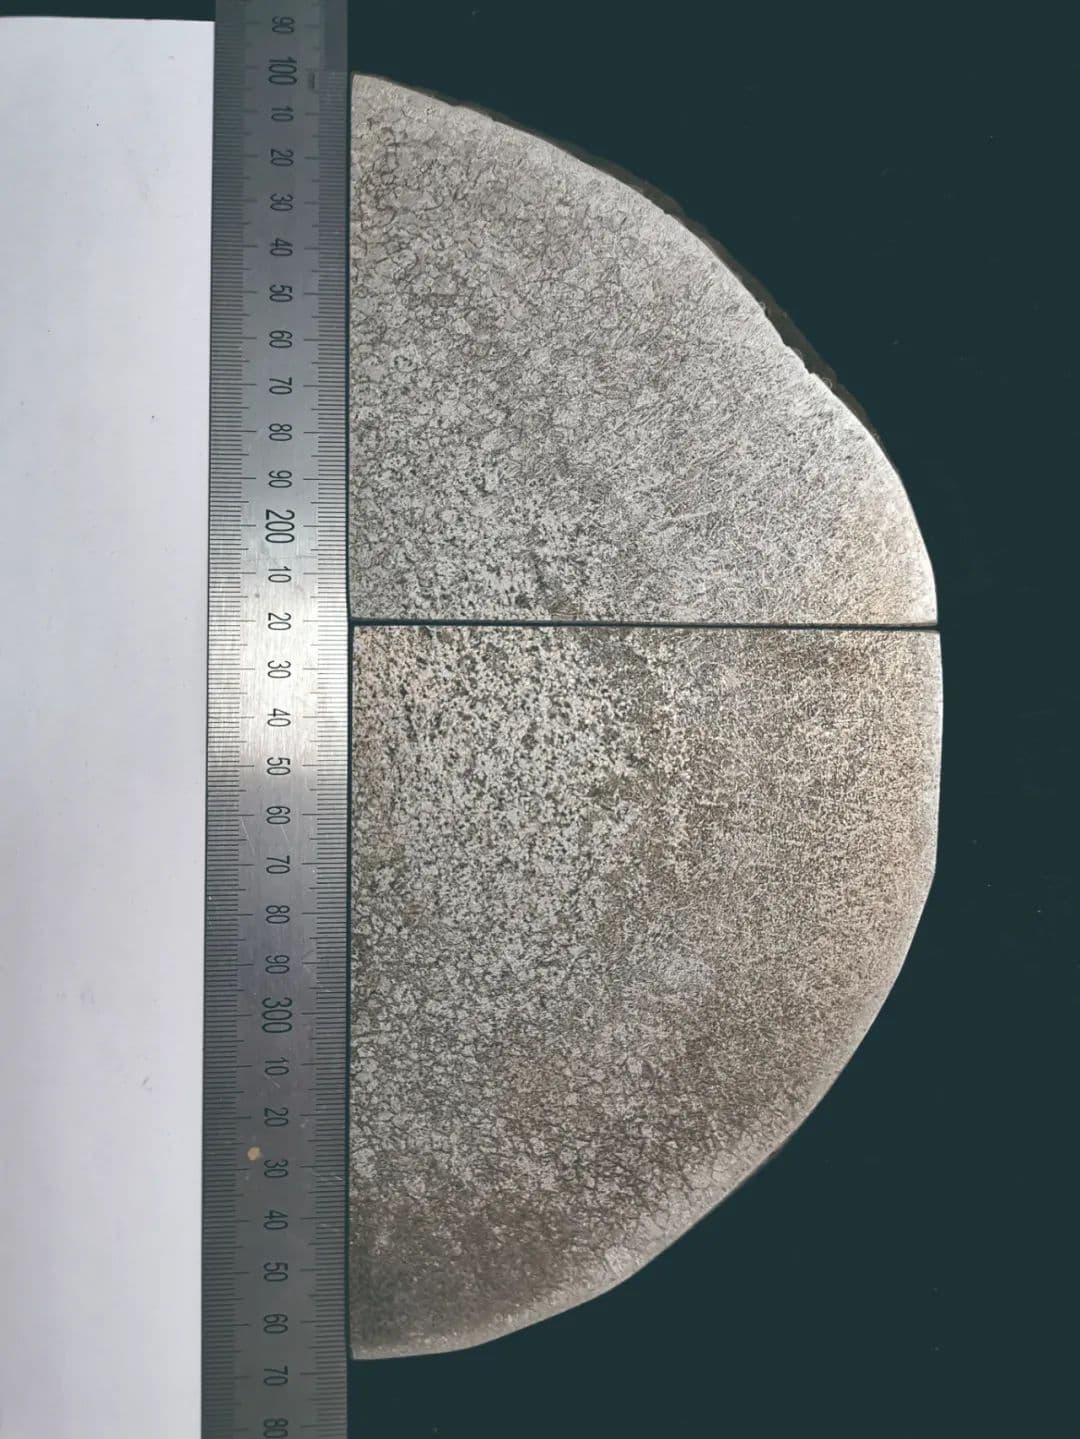
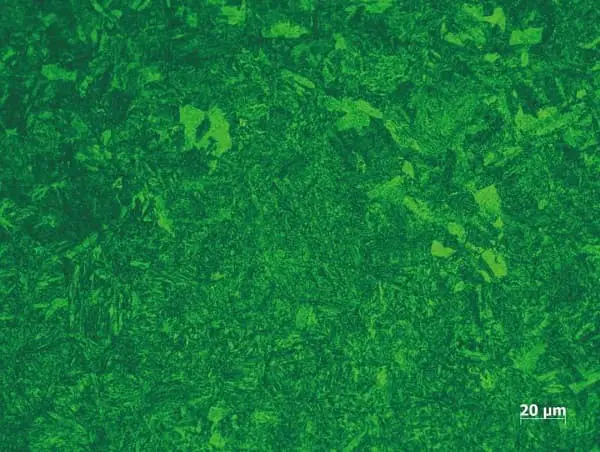
The macromorphology is shown in Figure 1 and the microstructure is shown in Figure 2. Test results can be seen in Table 2.

Fig. 1 Low magnification inspection of forging blank sample (1:1 industrial hydrochloric acid hot etching)

a) Coarse reticular ferrite

b) Part of the tissue is sorbite

c) Part of the fabric is composed of pearlite + a small amount of bainite and ferrite

d) Part of the tissue is coarse
Fig. 2 Metallographic structure of the forging blank sample
Table 2 Results of metallographic sampling tests of forged billets
| Test items: | Detection result |
| Low magnification defect | Generally, the porosity is grade 1 and the dendrite on the test surface is thick and shows severe segregation |
| Non-metallic inclusion | A0.5,B0.5 |
| Type of organization | The fabric distribution is extremely uneven, the fabric is thick, and the fabric is ferrite + pearlite + reticular ferrite + a small amount of bainite |
3. Mechanical property test
Forging stock will be sampled and tested for its mechanical properties in accordance with the requirements outlined in GB/T 2975-2018. This standard describes the requirements for the sampling location and sample preparation for carrying out mechanical property tests on steel and steel products.
The results are shown in Table 3.
Table 3 test results of mechanical properties of forged material
| Tensile strength /MPa |
Yield strength /MPa |
Body length rate after fracture (%) |
Impact Absorption Energy ( KV2 /J) |
| 983 | 845 | 12.0 | 10, 6.0, 6.0 |
4. Comparison between heat treatment scheme and physical and chemical test results
The physical and chemical test results indicated that the forged billet has a coarse structure, abnormal structure and poor mechanical properties, which are believed to be the result of poor forging quality and insufficient normalizing treatment.
To study the impact of raw material structure on final heat treatment (quenching and tempering), and to verify the improvement of various heat treatment processes on raw material quality, several heat treatment schemes have been developed. The objective is to analyze and propose improvement measures.
Three heat treatment processes have been developed to test forging residues: normalizing, quenching and tempering, and a combination of normalizing and quenching and tempering.
Samples were taken from the forged parts after heat treatment and tested for their metallographic structure and mechanical properties. The results were compared with the design requirements and are shown in Table 4.
Table 4 Performance indices and types of structure after three processes
| Process status | Tensile strength/MPa | Yield limit / MPa | Elongation after fracture (%) | Impact absorption energy (KV 2 /J) | Type of organization |
| Normalizing | 1098 | 959 | 12.5 | 17, 15, 18 | There is segregation in the organization; The structure is sorbite + troostite + bainite |
| Temperament | 878 | 752 | 16.0 | 77, 87, 80 | There is obvious segregation in the fabric; The structure is sorbite + a small amount of ferrite |
| Normalization + tempering | 988 | 828 | 16.0 | 94, 107, 110 | There is segregation in the organization; The fabric is sorbite + a small amount of ferrite |
| Project Requirement | 900~1100 | ≥650 | ≥12.0 | ≥40 | Sorbite, a small amount of ferrite allowed |
After analysis and comparison, it was found that the strength and toughness of the normalized sample were significantly improved and the ferrite network in the structure disappeared, as shown in Figure 3.

Figure 3 structure after normalization (880 ℃ air cooling)
Although direct quenching and tempering of the forged material eliminated the liquid ferrite in the sample, the tensile strength was much lower than the technical requirements and there was notable segregation in the structure, as shown in Figure 4.

Fig. 4 Tempering (860℃ oil cooling and 610℃ air cooling)
The samples that underwent normalization followed by quenching and tempering not only met all technical requirements in terms of performance indicators, but also improved the uniformity of the structure, as shown in Figure 5.

Fig. 5 normalizing + quenching and tempering (air cooling 880°C + oil cooling 860°C, air cooling 610°C)
3. Conclusion
The abnormal structure found in forged material is typically caused by high temperatures during forging, which results in rapid grain growth and failure of grain refinement. Furthermore, insufficient cooling after forging can lead to the formation of ferrite network, which severely degrades the mechanical properties of the material, particularly its impact resistance at room temperature.
To prevent the formation of coarse grains, lattice ferrite and even widmanstatten structures, it is crucial to strictly control the heating temperature during forging and properly regulate the cooling rate. Normalization can further refine the microstructure and avoid residues of network ferrite and other structures.
Because the forging stock has not been normalized as required, it is necessary to improve metallographic inspections during raw material storage to ensure that it meets the necessary requirements in the normal process. If abnormal phenomena such as coarse structure, reticular ferrite or even widmanstatten structures are found in the original structure, normalization treatment should be carried out before quenching.
Otherwise, the structure and properties obtained may not meet the desired requirements, and the presence of reticular ferrite may even cause cracking during quenching, leading to product failure during heat treatment.


