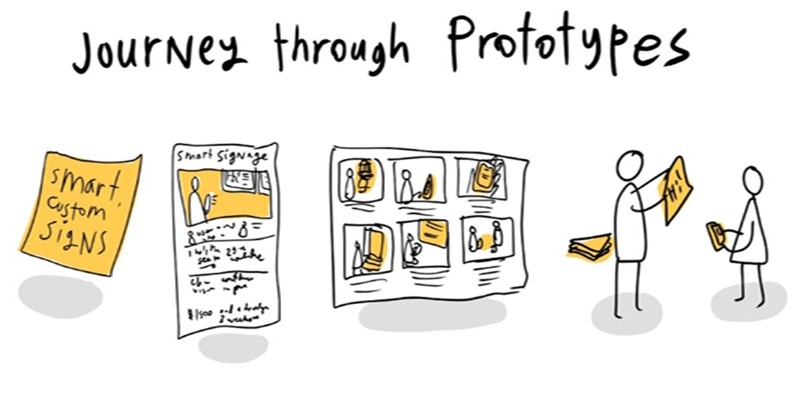
Creating a prototype is an important step in the product development process. It allows you to create a working model of your product or service before it hits the market and get feedback from potential customers. In this article, we'll discuss how to create a prototype and provide tips for getting it right every time.
What is a prototype?
A prototype is an approximate model or preliminary version of something that is still in the development process. In the world of product design and development, prototyping refers to the creation of early-stage designs that are used to test ideas and validate concepts before full production begins.
What is a physical prototype?

A physical prototype is a physical representation of your product or idea. It can be anything from a cardboard cutout to a CNC or 3D printed model. A working prototype is a physical prototype that can be used to validate the functionality of your product or idea. This can be anything from a mockup of your app to a working model of your product.
Why do you create a prototype?
There are two main types of prototypes: physical and virtual. A physical prototype is a real, three-dimensional version of the product being designed. They are often used to test the actual functionality and appearance of a product.
Virtual prototypes, on the other hand, are computer-generated models of the product. They can be used to analyze things like various parameters and assemblies. Here's why you need to create a prototype.
1. Allows you to test and improve the functionality of your theme.
The first prototype is usually the most basic version of your product idea. With this prototype you test the viability of your product or idea.
Often your idea works in theory. Only when you start implementing it do you come across an error in your thinking. Therefore, an important reason to develop the first prototype is to test the functionality of your idea. You won't know the problems and challenges of design until you start taking your ideas from theory to reality.
2. It encourages people to take you more seriously.
When you meet a professional with a prototype in hand – from your own lawyer to potential investors – you stand out among dozens of people with vague ideas. Instead, you will be seen as a goal-oriented professional rather than just an inventor with a potential idea.
3. Creates opportunities to test the performance of different materials.
For example, you may initially want to use metal – until you test a prototype and discover that plastic offers better performance at a lower cost for your specific application. By making prototypes you can determine the best material.
4. It will help you and your team present your products and make decisions more effectively.
When presenting products, prototyping is essential. A prototype is a sample, model, or early version of a product created to test a concept or process. It allows prototype designers to make changes and adjustments before mass production begins.
4 Easy Steps to Create a Product Prototype
The prototyping process consists of four simple steps before the idea for the final product emerges. A prototype designer starts with:
- Develop product ideas with the target group in mind.
- Create a conceptual sketch or visual prototype with image coding and design in a digital drawing program.
- Creation of a product prototype.
- Sign up to receive the final prototype.
1. List your idea information

When you have a business idea, it's important to create prototypes to test the viability of your final product. Prototyping allows you to understand what your customers want and how they will interact with your product. Simple prototypes also allow you to make changes to your product before investing a lot of time and money into developing a final product.
2. Ready for prototype design
If you're thinking about business ideas, you probably have a few concepts that excite you. But how do you turn these ideas into a digital prototype? And how do you know if your idea can be produced?
2.1 Make an outline
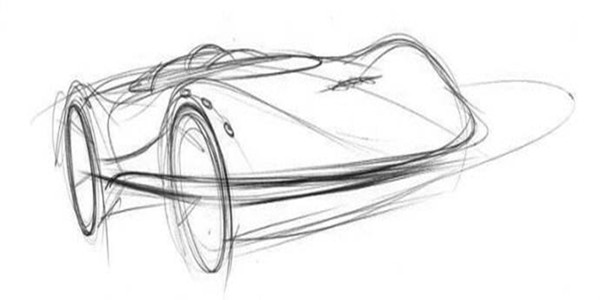
The outline starts with the page format. The best combination between dividing line and whole is taken into consideration. The sketches are mainly approximate designs, which need to consider man-machine, structure shape, disassembly method, material, etc. The deeper the design plan, the more different it becomes. Generally, three views can be drawn to show the appearance and structure of the product from various angles.
2.2 3D Modeling
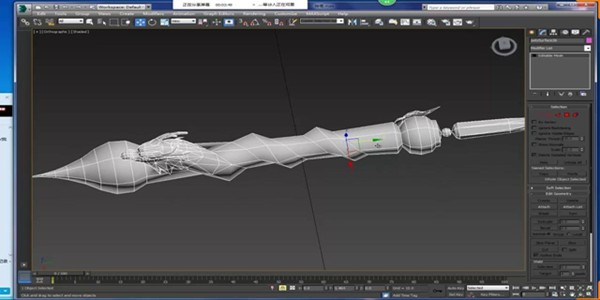
Using 3D software, the physical model of the product can be created in a 3D virtual space. The internal stack and approximate dimensions can be quickly determined to understand the approximate size proportion. Commonly used CAD modeling software includes Solidworks, Catia, Pro/E, UG, etc.
2.3 Create effect images
Before the actual physical products are available, use software to color the 3D model and display different angles and color combinations. Effect images are suitable for online display advertising. By comparing different effects in the software, the best color scheme for the product can be determined in advance.
3. Create a physical prototype
It is important to create a product prototype to get a rough idea. It is important to make a simple prototype to save production costs on expensive materials if the virtual sketch is defective.
There are many different methods for creating prototypes, each with its advantages and disadvantages. Some of the most common include 3D printing, CNC prototyping, and vacuum casting.
3D printing
It falls under one of the manufacturing techniques in the field of prototyping called “additive manufacturing”. 3D printing is a great idea to produce the physical product according to a computer-aided design. The design process includes drawings created electronically with digital sketching in software such as SolidWorks, Creo and many others.
Third-party programming libraries, such as Autodesk's 123D Design and Tinkercad, allow users to create 3D objects without the need for expensive CAD software. Industrial equipment like 3D printers can be expensive, but the cost of 3D printing has fallen rapidly in recent years.
Benefits:
-It's a quick process. Once the 3D model is created, it can be quickly printed. The physical product can be tested before final design.
-It is a relatively cheap method. Sizing and design errors can be resolved in the early stages by creating 3D models rather than mass producing the actual product.
– 3D printed prototypes can feature very complex designs and details that would not be possible using other prototyping methods.
Disadvantages:
-The materials used in 3D printing are not as strong or durable as those used in other manufacturing processes and therefore may not be suitable for all applications.
– Producing 3D printed prototypes can be time-consuming and expensive if the design is complex or complicated.
CNC Prototyping
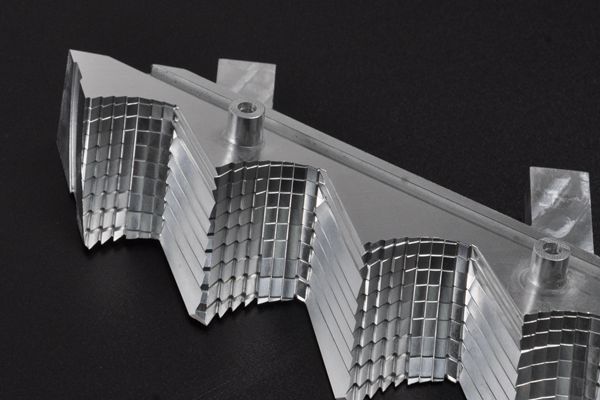
If you are looking for potential customers for your product or service, CNC prototyping is a cost-effective solution. It is a popular manufacturing process for creating accurate and durable prototypes. It's also a great way to get metal and plastic prototypes from machine shops.
CNC prototyping is a process that uses CAD designs to create physical prototypes from 3D models. It is often used to raise money for new product development or to reduce the high costs of traditional prototyping methods.
Benefits:
-CNC prototyping is a very precise method that allows for tight tolerances and fine details.
– The materials used in CNC prototyping are generally very strong and durable, making them suitable for heavy-duty applications.
-Prototypes can be created from a variety of materials, including various plastic and metal materials.
Disadvantages:
-CNC prototyping is an expensive process due to the cost of the equipment and the expertise required.
-The prototype depends on the machine. This is a time-consuming process, especially with complex projects.
-Special equipment and training are required to produce CNC prototypes.
Vacuum Casting

Vacuum casting is a versatile and relatively inexpensive method of producing prototypes from a variety of materials. This process involves creating a mold from a 3D-printed or CNC-milled master model, then pouring liquid material into the mold and curing it under vacuum. Vacuum casting can be used to create prototypes of thermoplastic and thermoset materials, making it a good option for a variety of applications.
Benefits:
-Vacuum casting is relatively cheap because the molds can be reused many times.
-Materials used in vacuum casting are typically flexible and durable and can be used to create prototypes suitable for functional testing.
– It is a scalable process suitable for projects with small batches of components and parts.
Disadvantages:
-The molds used in vacuum casting are normally disposable, which means that each prototype must be cast from a new mold.
– It is a slower process than some other methods, such as B. 3D printing.
– Materials used in vacuum casting may not be as strong or durable as those used in other processes.
4. Testing the prototype
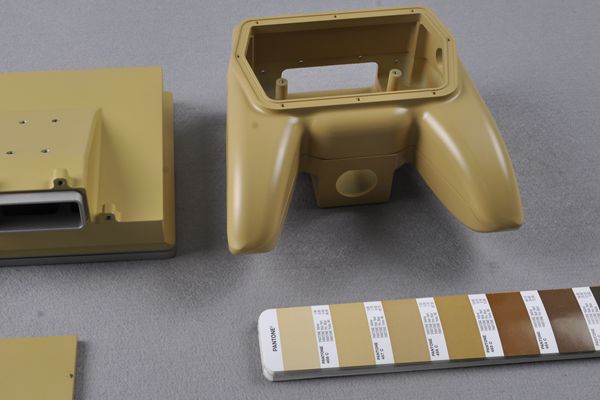
Testing a prototype is important because it allows you to identify potential problems with your product before it hits the market. This can save you time and money in the long run and ensure your product is of the highest quality possible. There are several ways to test a prototype, including user testing, functional testing, and stress testing.
- User testing is where you put your product in the hands of real users and observe how they interact with it. This allows you to receive valuable feedback on aspects such as usability and user experience.
- Functional testing is a more technical form of testing that examines the technical functionality of your product. This will help you identify potential bugs or glitches that need to be fixed before publishing.
- Stress testing is a test that simulates real-world conditions to see how your product will perform. This may be important for products used in demanding environments, such as: B. External equipment or medical devices.
Overall, each of these prototyping methods has its own advantages and disadvantages. When choosing the best method for a specific application, it is important to consider factors such as cost, speed, material properties, and project complexity. Ultimately, the perfect product prototyping method depends on your specific needs and goals.
5 tips for creating a prototype
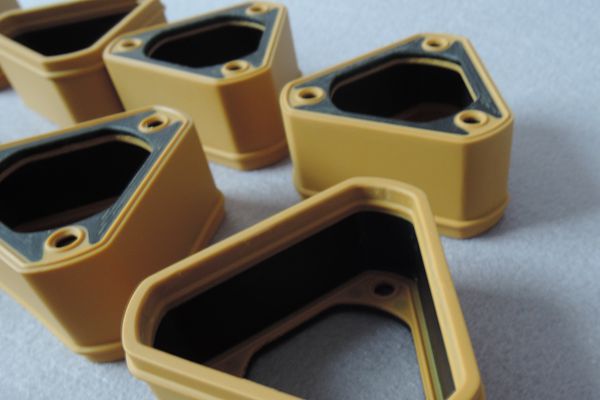
Understanding Intellectual Property – It is important to be knowledgeable about intellectual property and how to protect your ideas. You don't want to invest time or resources into something that someone else can easily copy. First, consult a patent attorney or intellectual property consultant.
Non-Disclosure Agreements – It is also important to sign a non-disclosure agreement (NDA) before sharing your idea with others. This protects you from someone stealing your idea.
Feedback Message – Once you have a prototype, it is important to get feedback from potential customers. This will help you refine your product and ensure it's something people actually want.
Test your prototype – Don’t forget to test your prototype! Make sure it is durable and can withstand the rigors of use.
Find the Manufacturer – If you are ready to mass produce your product, it is important to find a manufacturer you can trust. Make sure the manufacturer has experience with the type of product you are making.
Common questions
1. How much does it cost to make a prototype?
The manufacturing cost entirely depends on the size, type and design of the product. To receive a real-time quote for your project, upload your CAD file or send your project message via the quote page on our website.
2. Where can I find a manufacturer to make a prototype?
3. Does a homemade sample count as an official prototype?
Yes, if a homemade sample works, it can be called an official prototype. It doesn't need to use the final materials, nor does it need to be perfect.
Next step: create your own prototype
Now that you've seen how to create a simple prototype, it's time to think about creating your own. The process of creating a prototype is important for any product development project because it allows you to try out different design options, visualize the final product, and ensure everything fits together correctly.


